Wix is a website builder that give clients free hosting and a custom domain name. It is an easy-to-use drag-and-drop builder that makes creating a website straightforward and enjoyable for beginners. In addition to providing a free .wixsite subdomain to every client to host a website, Wix offers a free custom domain name when you purchase a premium plan. Now, let’s take a look at how to get your free top-level domain (TLD).
How to Get a Free Domain Name from Wix
There are a few steps you have to follow closely to get your free custom domain on the Wix website builder.
Before you get started, we would like to mention that according to our experts, Wix is the best website builder for 2025.
1. Open an Account
The first step you have to take to get a free domain registration for one year from Wix is to open an account. If you already have an account, you can skip this step.
To do that, go to the website by clicking here or on the button below.
Navigate to the Get Started button in the header menu and click on it.

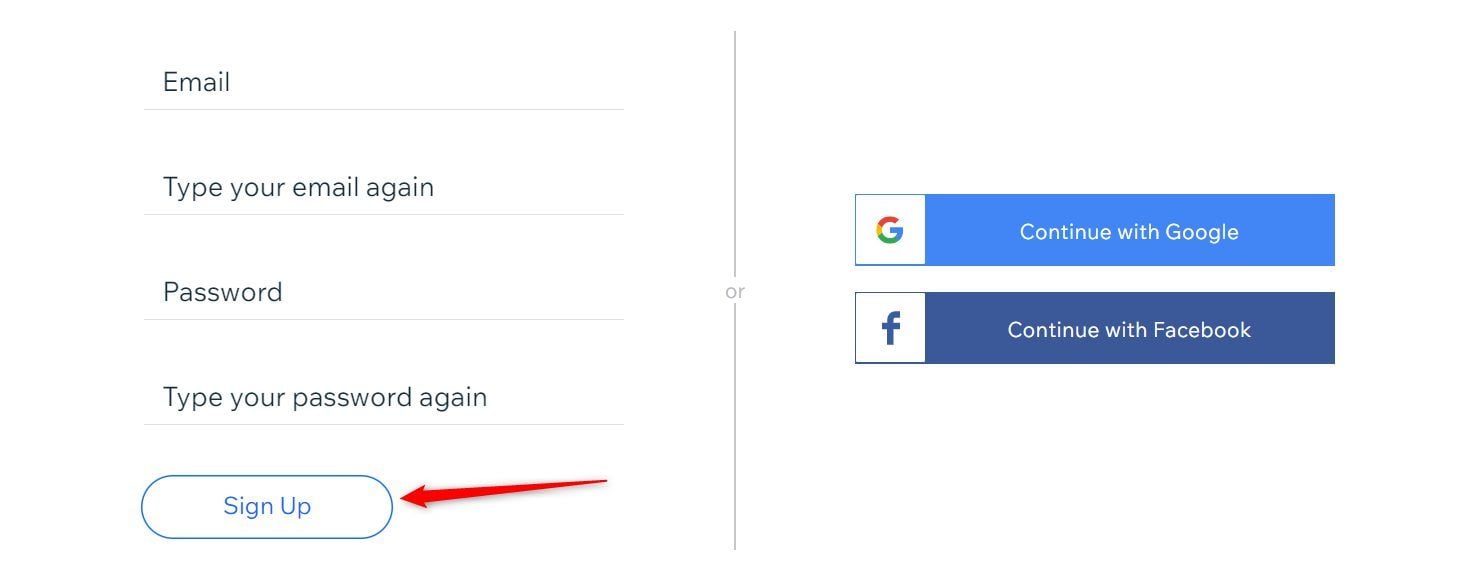
Provide your email address and a preferred password for the account. Then, click the Sign Up button. Alternatively, you can use your Facebook or Google account to sign up.
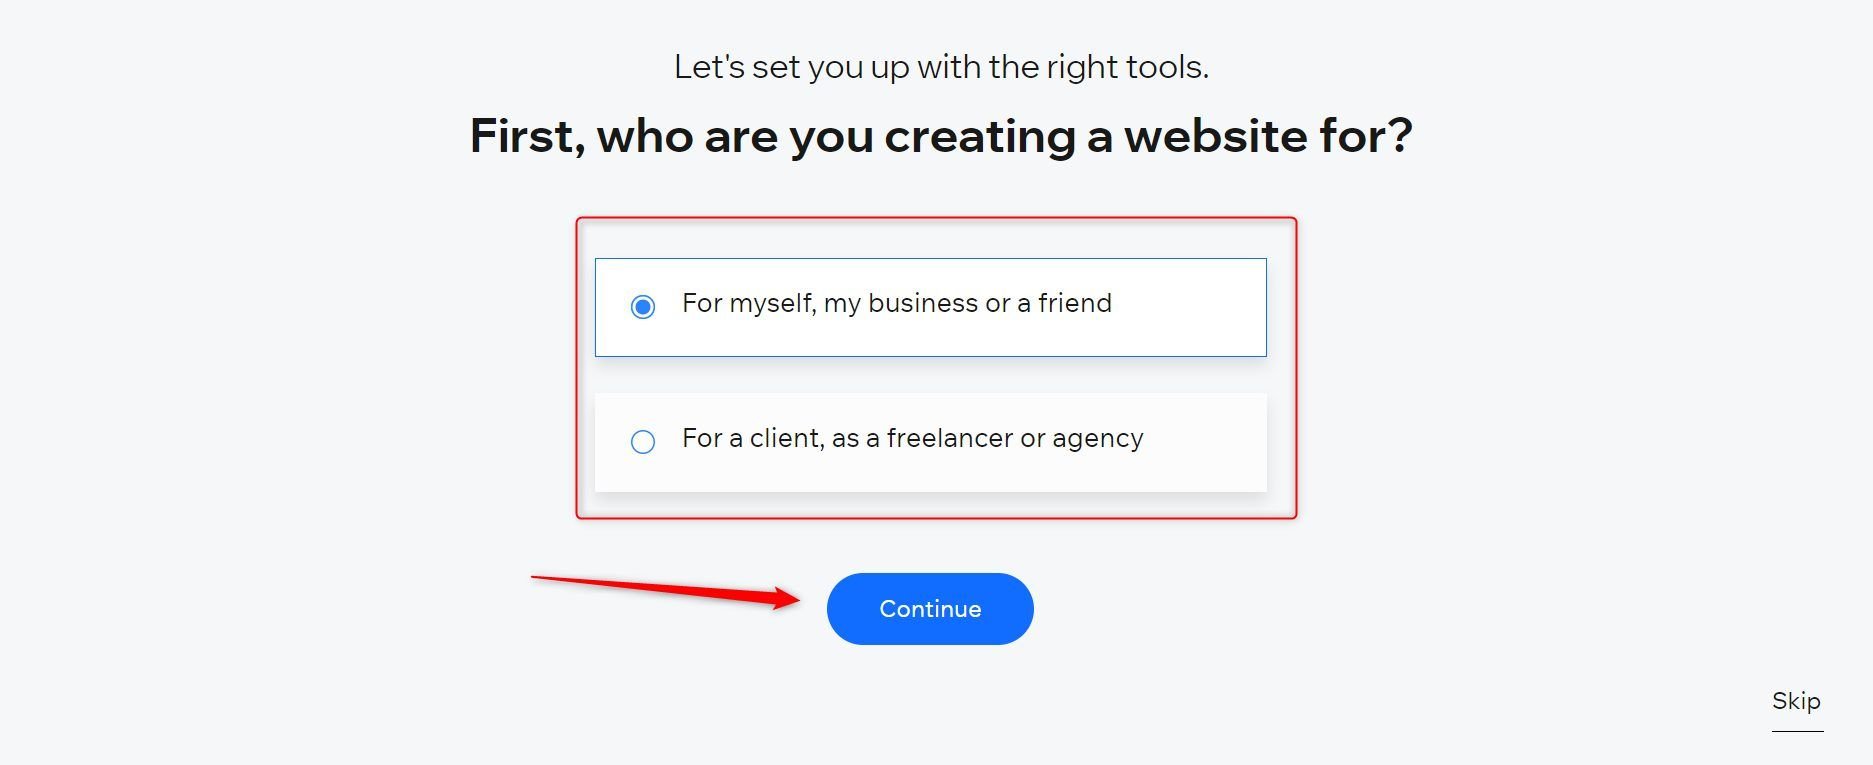
Now, choose the appropriate ownership category for the site you want to create. Click the Continue button afterward.
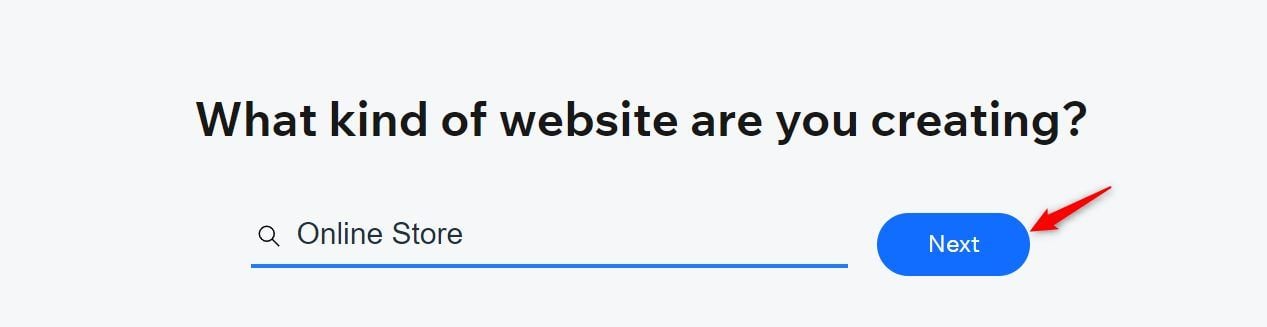
Choose the kind of website you want to create. Type the keyword in the box to get faster suggestions and pick the closest one. Then, click on the Next button.
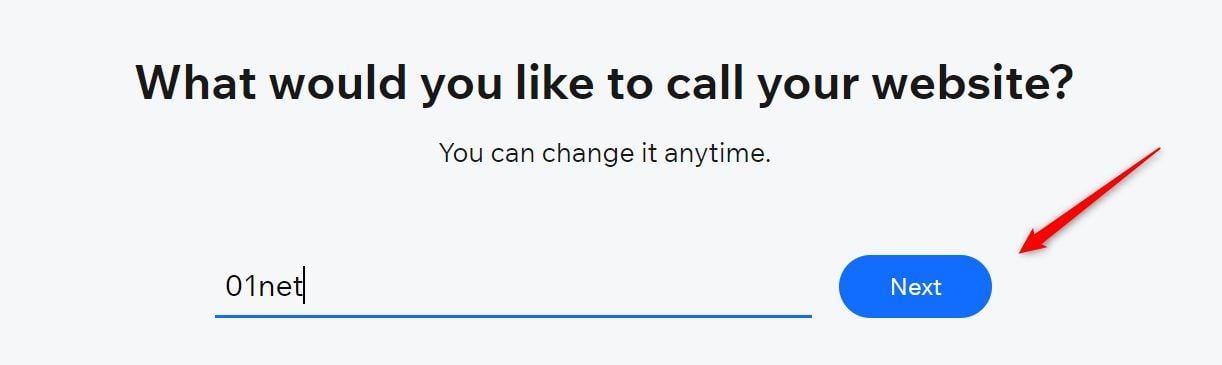
Type your website title or name and click on the Next button.
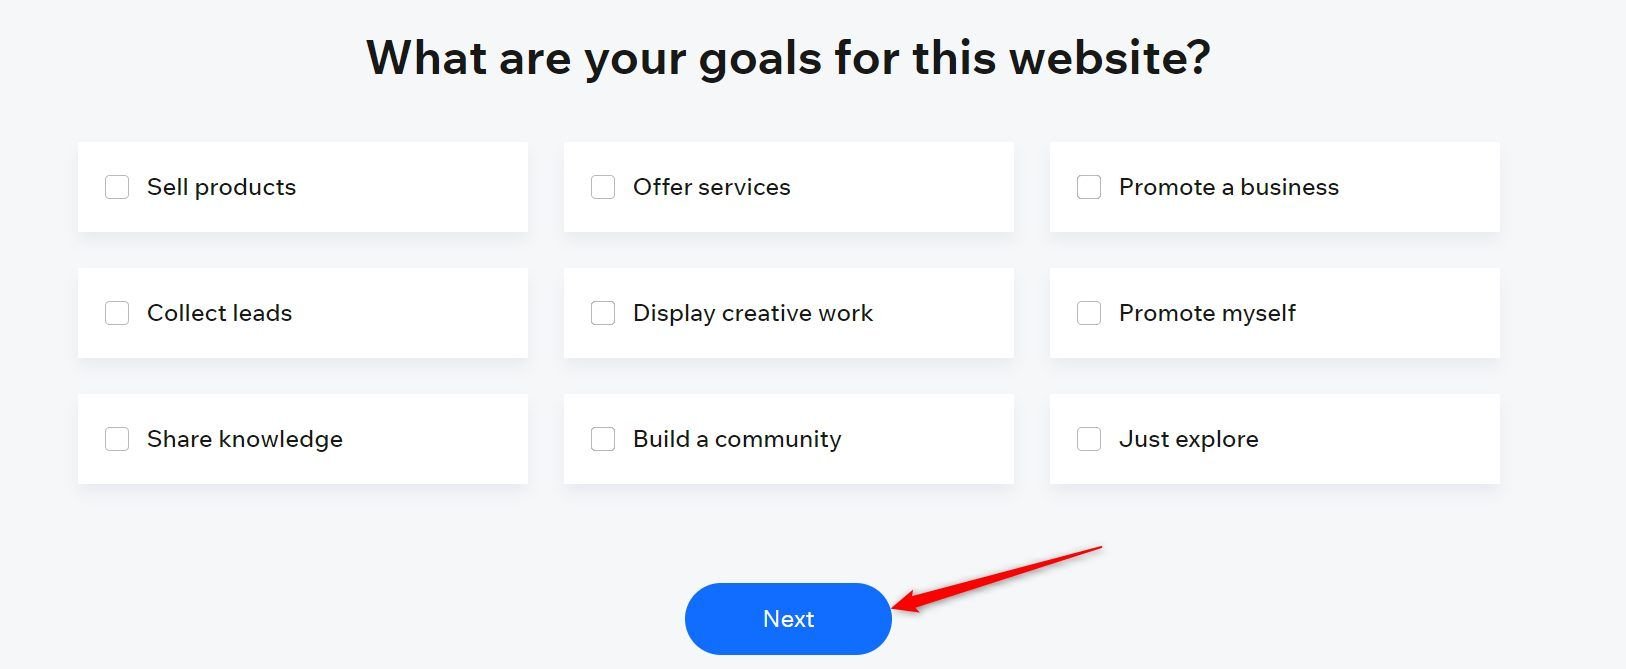
Now, choose the goals for your website by selecting them one after the other. Click the Next button when done.
Choose all the features you want on your website and click the Next button. Don’t worry if you miss any as you can still add them later in the editor.

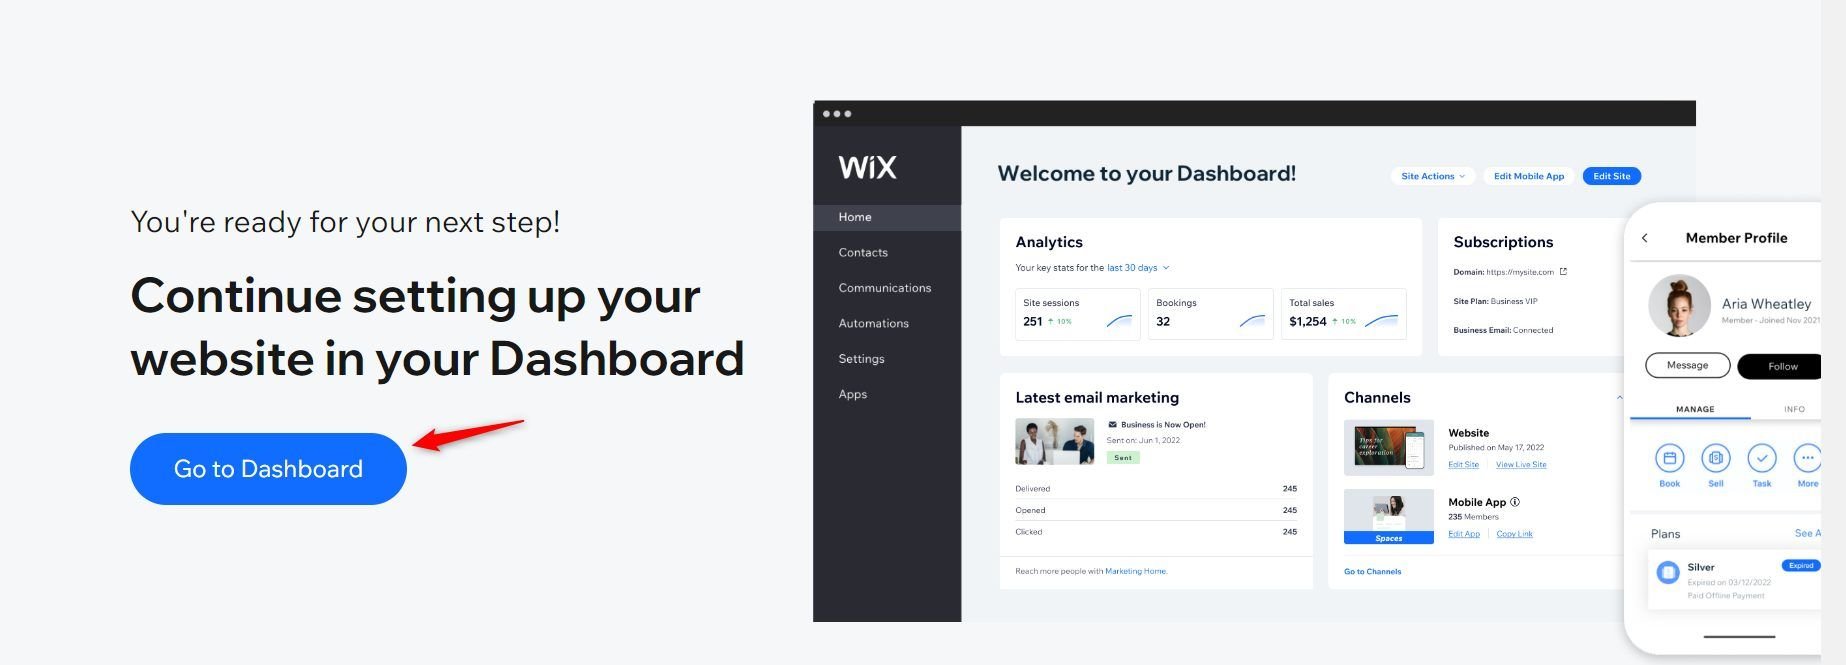
Now, click on the Go to Dashboard button. Wait a few seconds for the page to display.
2. Upgrade Your Account
You can only get a free custom domain name from Wix if you upgrade your plan from free to premium.
Click Upgrade or the Upgrade Site button in your Editor dashboard to do that.

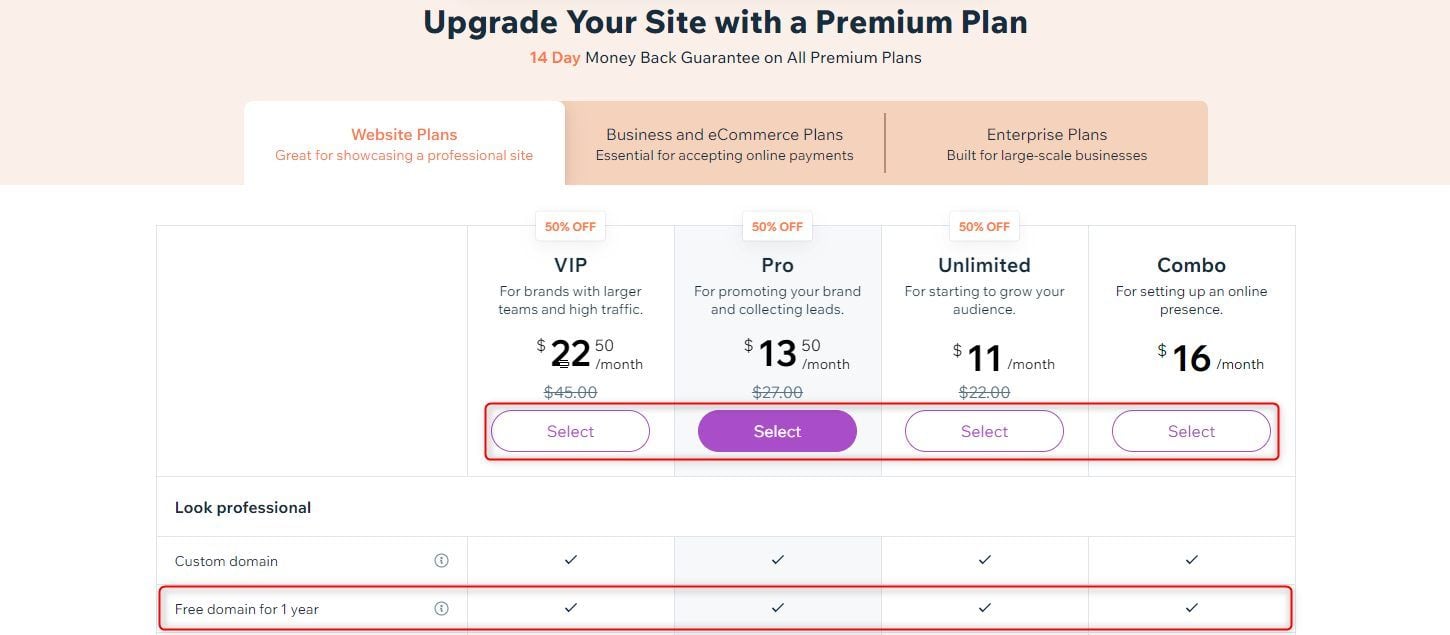
Click the Select button under the Website Plan you want. You can choose any since they all have the free domain offer, as seen below.
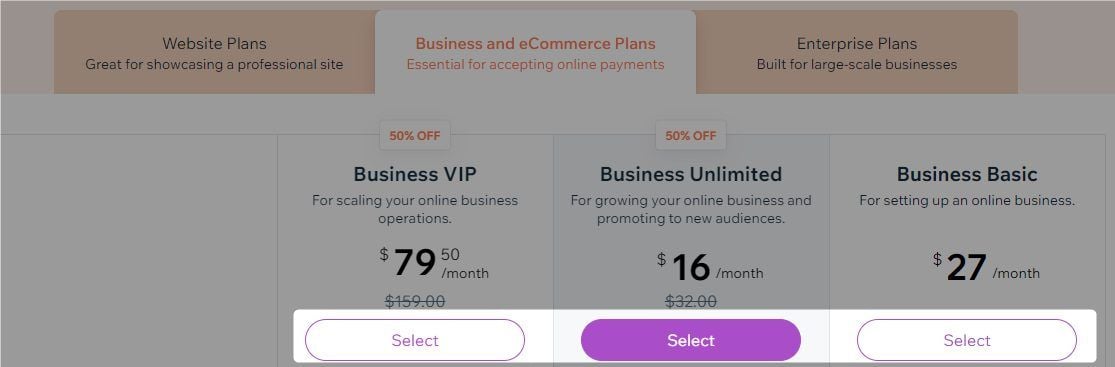
If you want to build a store or site that will accepts payment, switch to the Business and eCommerce Plans tab instead. Click the Select button under any package that matches your business needs.
Note: If you are a non-US customer, you may see the Connect Domain package in your option for Website Plans. Kindly desist from purchasing it because it doesn’t qualify for the Wix free custom domain offer.
Select your billing cycle and click the Continue to Checkout button. We recommend purchasing the 3 Years plan to get the best deal.
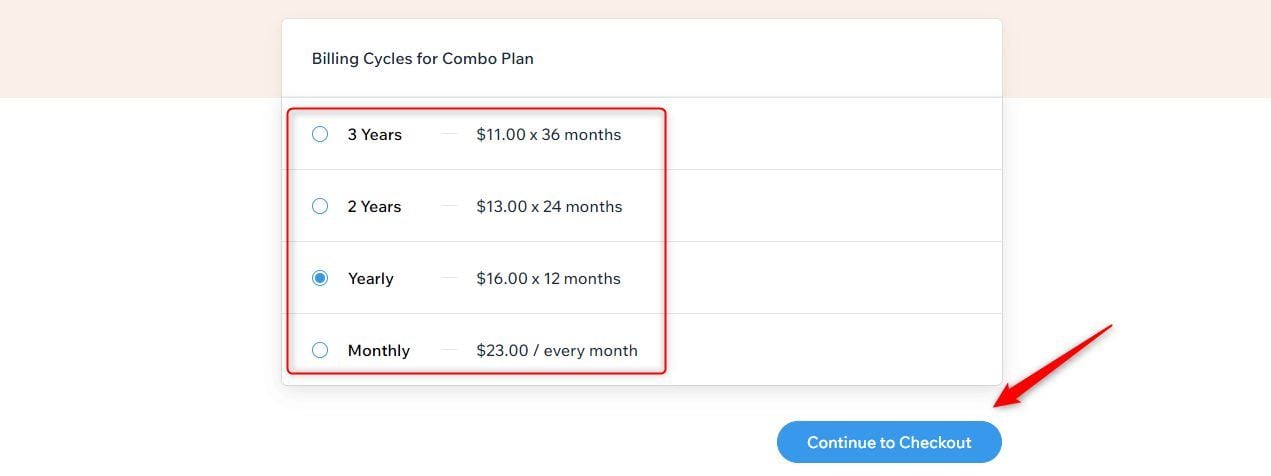
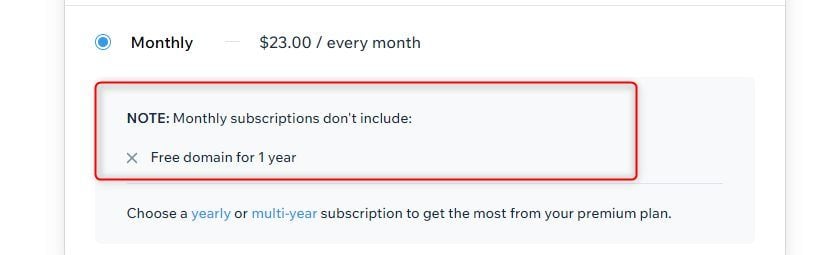
Note: The monthly billing cycle does not qualify for the free domain offer. So don’t choose it. Moreover, it is ridiculously more expensive than other billing cycles. See below.
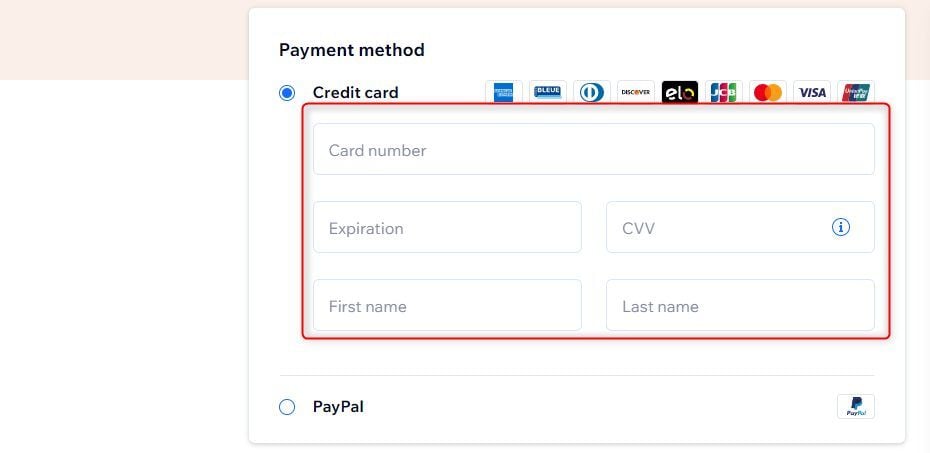
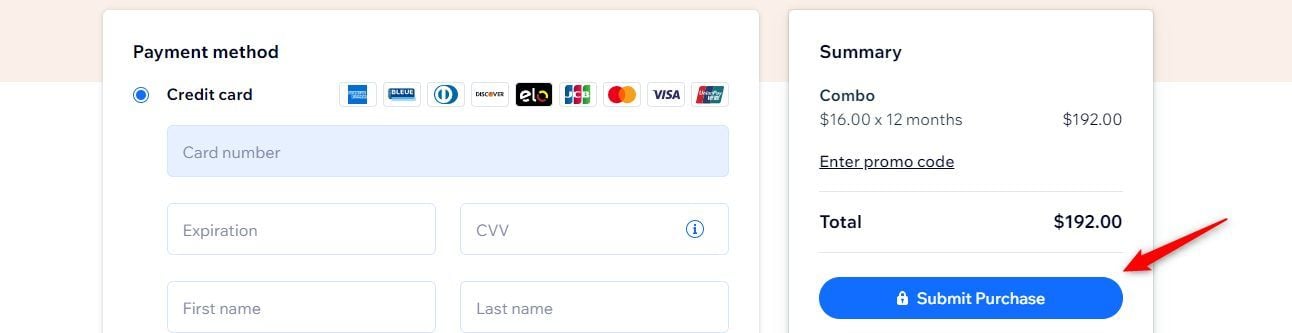
Under the Payment method section, choose between Credit card and PayPal. If you choose the Credit card option, input your details in the appropriate fields.
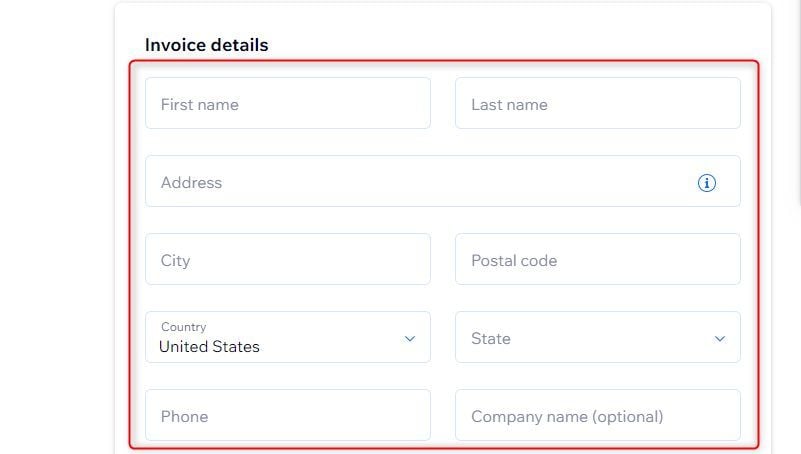
Scroll to the Invoice details section and provide your billing address and phone number.
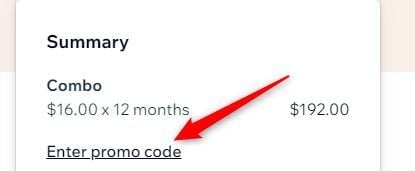
If you have a coupon code (if not, check out our article featuring the latest coupons at Wix), click the Enter promo code link in the Summary section. Input your coupon in the box and click the Apply button.
If you chose the Credit card option as the payment method earlier, click the Submit Purchase button. This will process your payment by charging your card.
Alternatively, click the Continue to PayPal button under the Summary section if you chose the PayPal option as your payment method earlier.
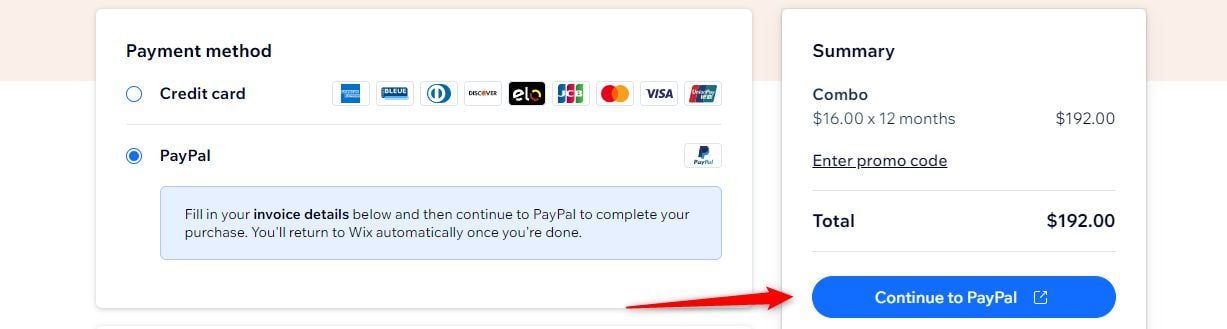
This will take you to the PayPal website, where you will complete your payment. You will be redirected to the Wix website once the payment is successful.
3. Use Your Wix Voucher to Purchase a Domain Name for Free
Wix domain vouchers are equivalent to money or at least a 100% off discount for domain name registrations or purchases.
However, they only work for the .com, .co.uk, .net, .org, .art, .at, .be, .biz, .blog, .ca, .ch, .com.au, .com.br, .club, .coach, .fit, .fitness, .fun, .in, .info, .live, .nl, .online, .pictures, .rocks, .space, .shop, .store, .studio, .training, .work, .xyz, .yoga, and .de domain extensions.
To use the voucher, return to the Wix Editor or Editor X Dashboard via manage.wix.com or manage.editorx.com.
Navigate to the profile icon at the top-right corner of the page and click on it. Then, click on the Vouchers link in the drop-down.
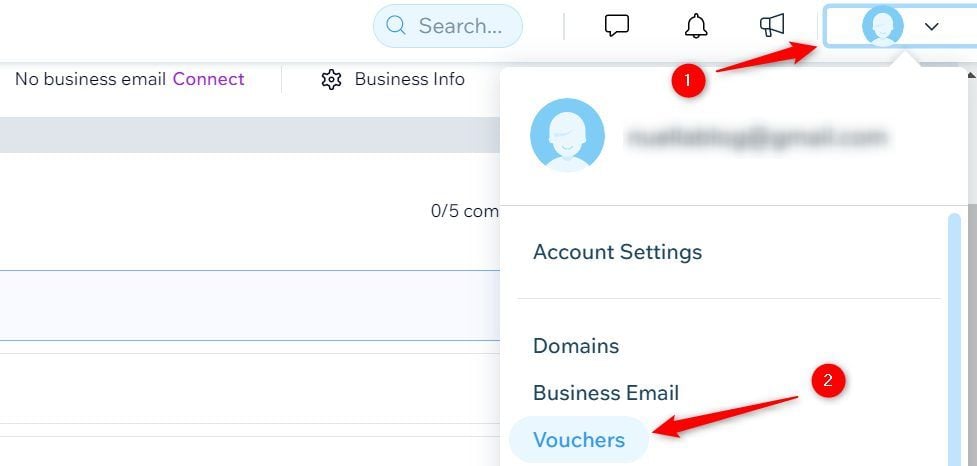
Your voucher is under the 1 Year Free Domain section, including its expiration date. Copy the code from there.

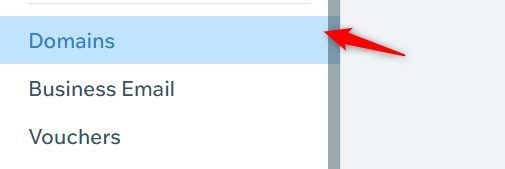
Now, navigate to Domains by clicking the link in the left sidebar.
Click on the Buy a new domain name box.

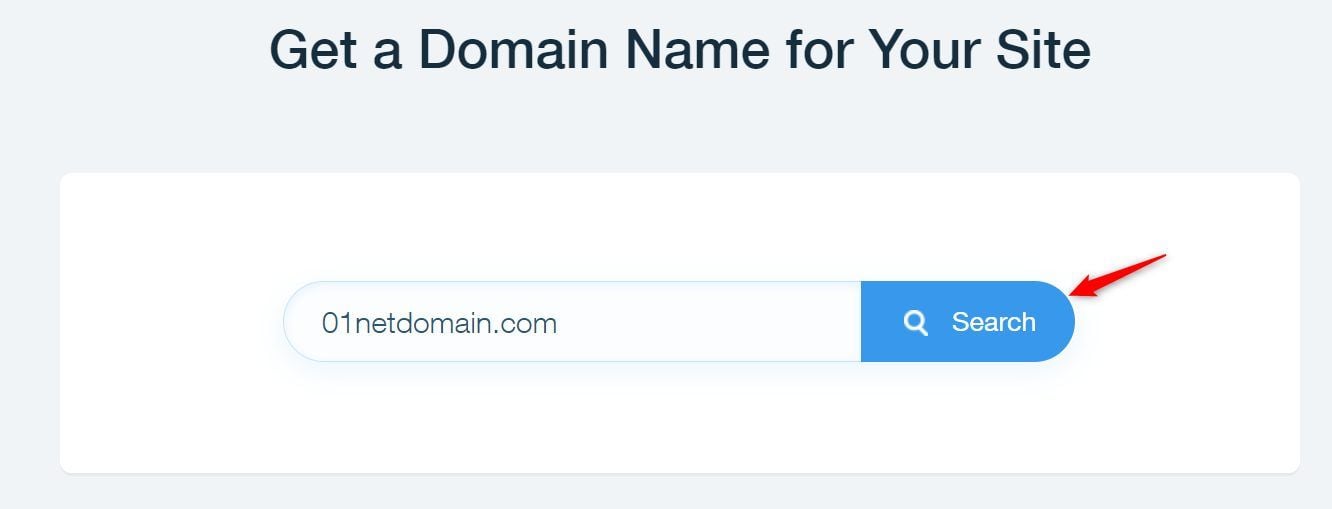
Type the web address (domain plus extension) in the field provided and click the Search button.
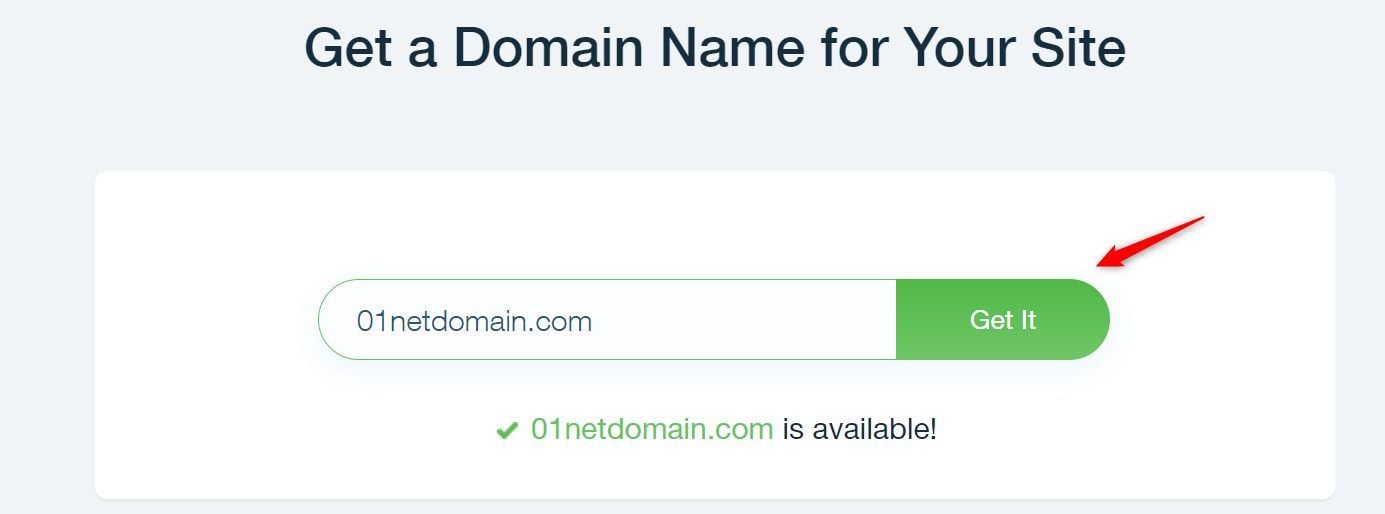
If it is available, click on the Get It button. Otherwise, try another one.
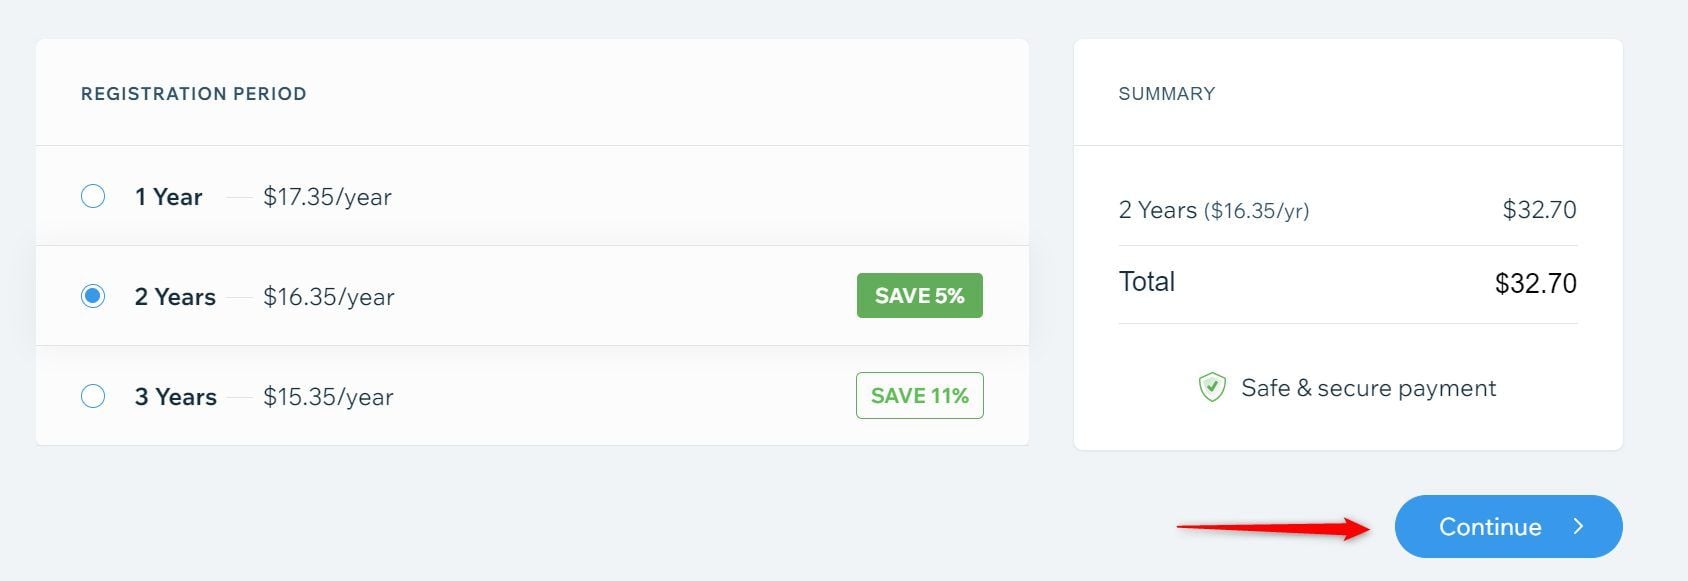
Choose your preferred domain registration period. Then click on the Continue button. It is more advisable to purchase between 2 or 3 years subscriptions for better discounts.
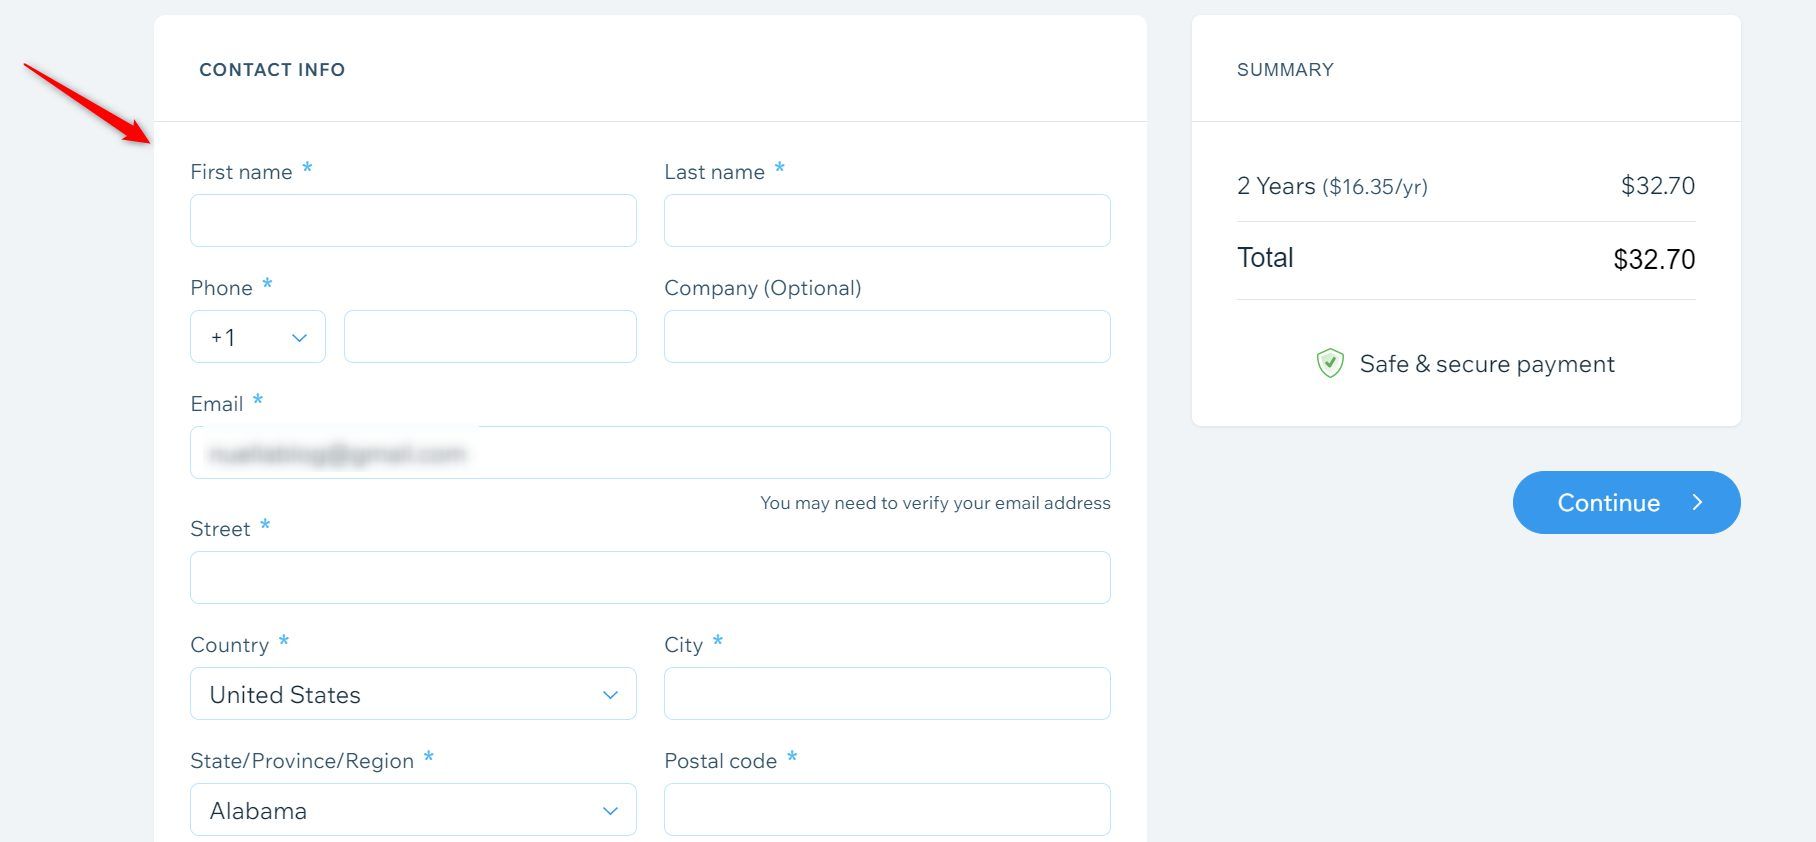
Provide your contact information.
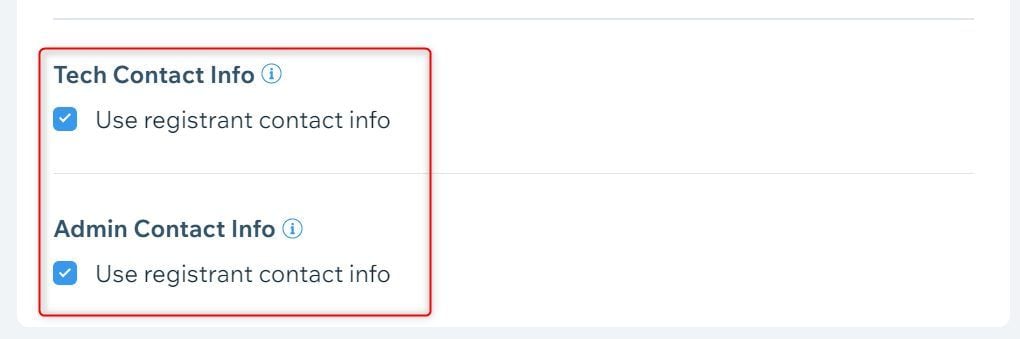
Leave the Tech Contact Info and the Admin Contact Info boxes checked if they are the same as the information you previously gave. Otherwise, uncheck the boxes and provide the correct contact information.
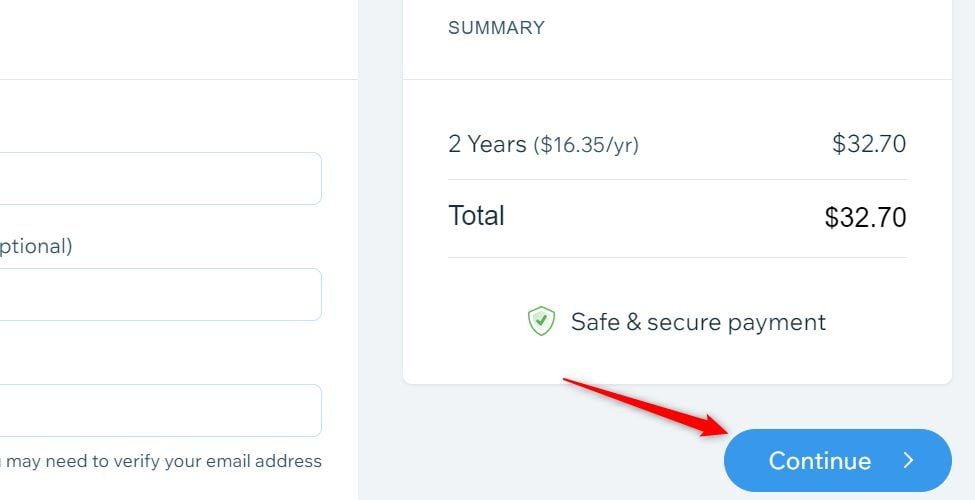
Now, go to the SUMMARY section and click the Continue button.
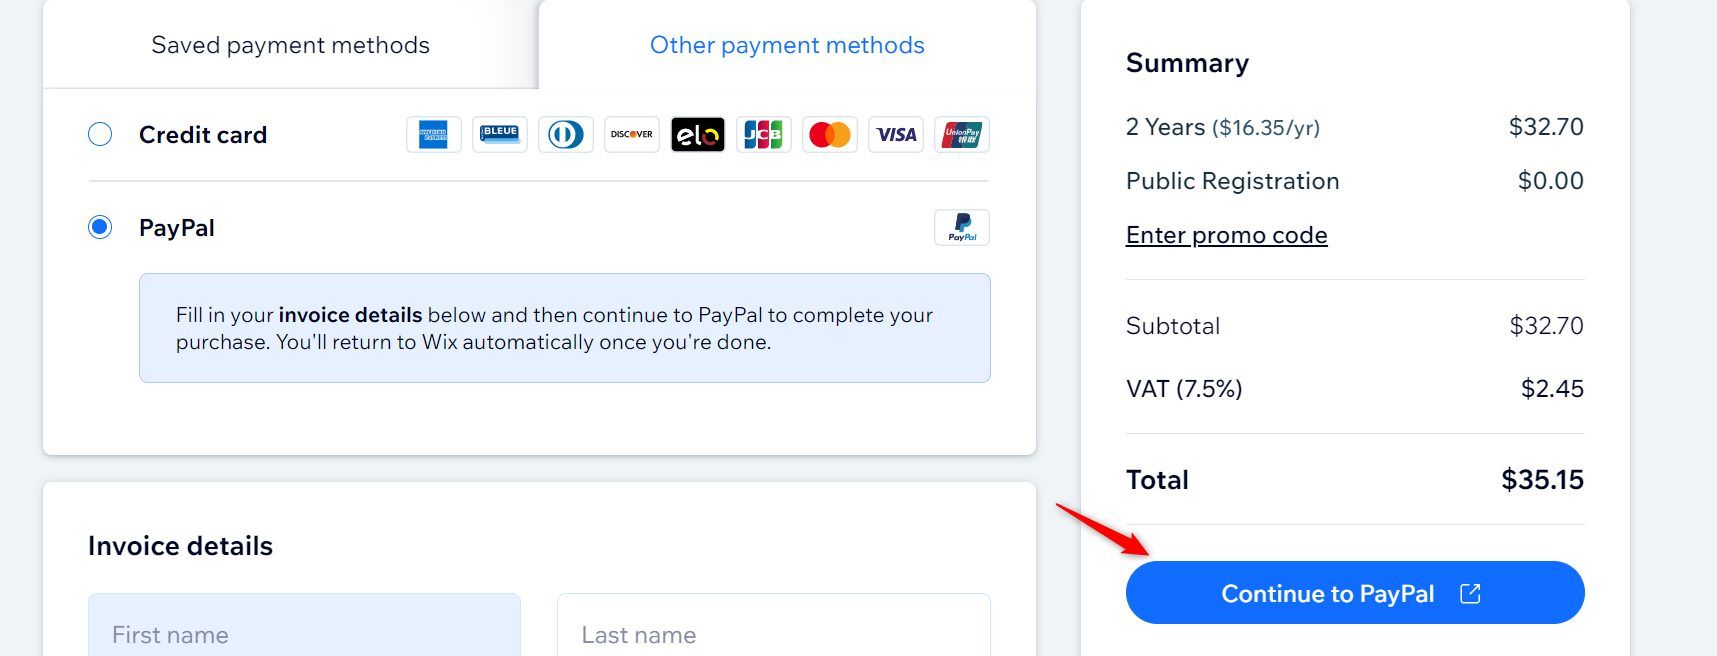
Check the Privacy Registration (Recommended) option if you don’t want your contact info, like email address, name, and phone number, to be displayed on your web address’s WHOIS page. If you don’t mind, choose the Public Registration option instead. Then, click on the Continue button under the Summary section.

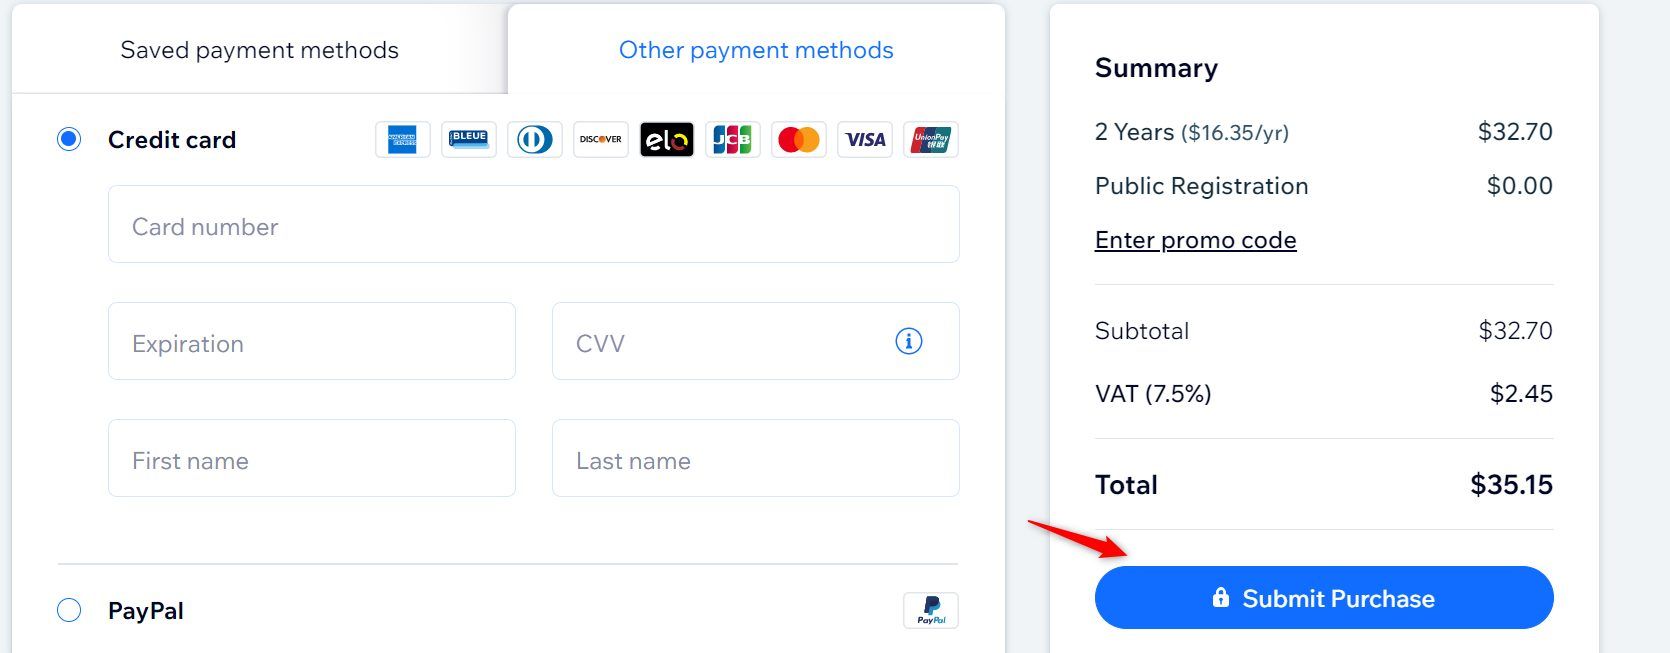
Click the Enter promo code link in the Summary section to use your Wix 1 Year Free domain name voucher. It will deduct the first-year subscription amount from the Total if it is valid. So if you chose ‘one year’ as the subscription period, the Total becomes ‘0’.

Now, choose your payment method between Credit card and PayPal. For the Credit card option, input your card details correctly in the fields.
Then, scroll down to the Invoice details section to enter your billing address and phone number.
Click the Submit Purchase button afterward.
For the PayPal option, click on the Continue to PayPal button. Follow the instructions on the PayPal website to complete your purchase.
You managed to get a free custom domain from Wix for your blog or store, congrats! Now you’ll have to customize your site so that it meets your expectations.
How Do I Change My Free Domain Name on Wix?
Note that this section of our guide has nothing to do with the domain name offered by Wix for 1 year. It is about the subdomain made available through the free offer of the website builder.
Log in to your dashboard to change your .wixsite.com domain name on Wix.
Navigate to the header menu and click the button just after the Wix logo. The name will be your site’s title. Then, choose the site from the drop-down menu list.
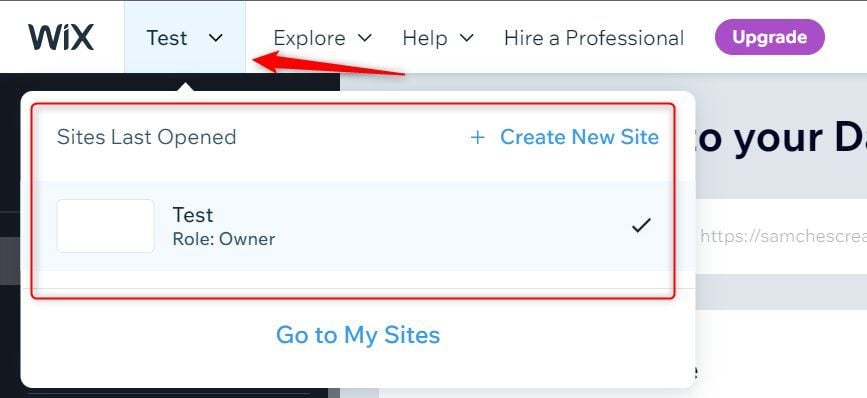
Click on the three horizontal dots (…). Then, click on the Rename Site link.

Type the new Site Name you want in the first field and the new subdomain URL in the second. Click the Save button afterward. This will change your URLs sitewide automatically.
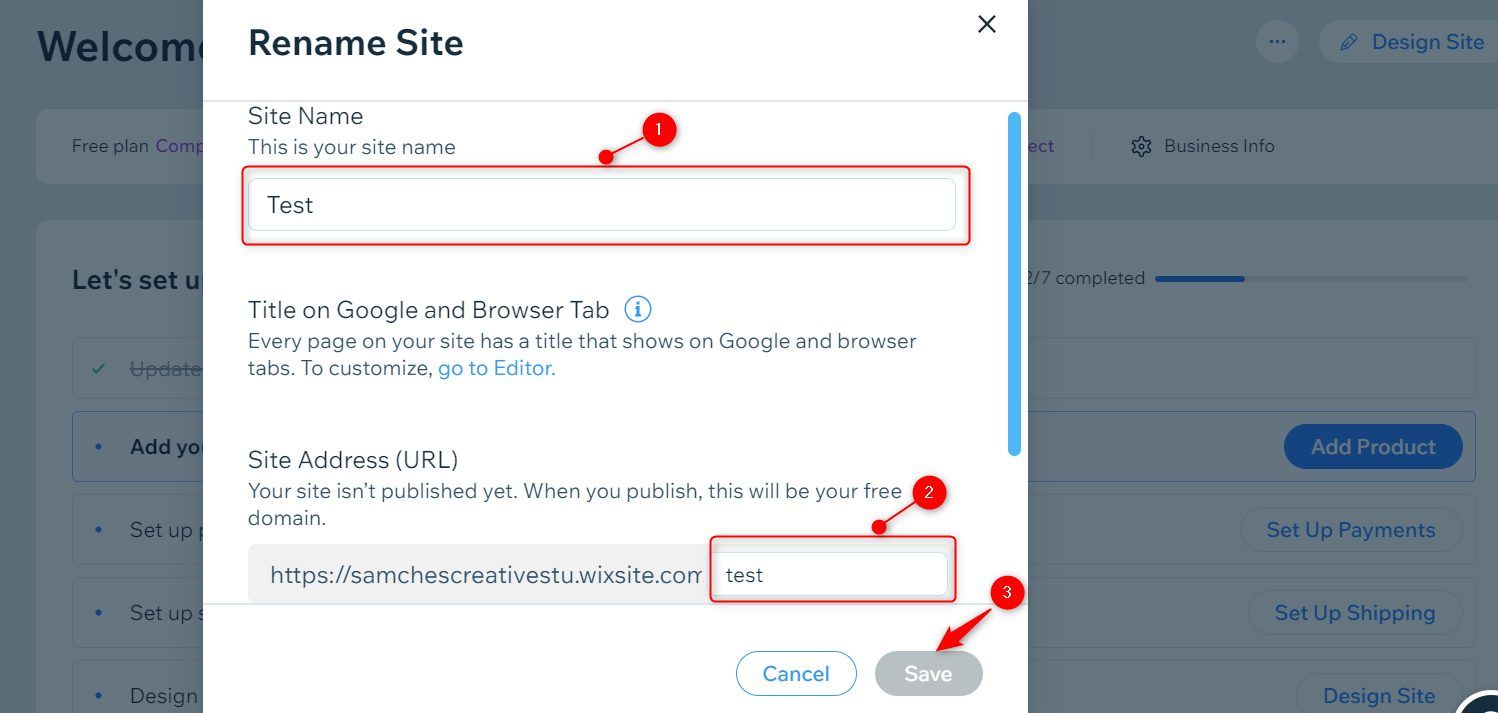
Note: This only changes the part of your subdomain after the .wixsite.com part and not the one before. For example, you cannot change the “01net” part of the URL 01net.wixsite.com/firstsite, but you can change the “firstsite” part.
Get Your Free Domain Name from Wix Now
FAQs
Can I Get a Free Domain on Wix?
Yes. Both free and premium users can get a free domain on Wix. Free users will get a subdomain with the .wixsite.com branding, which is highly unprofessional. However, first-time premium clients will get a custom web address of their choice without any branding of the website builder. It will be free for only the first year of registration.
How Do I Get a Domain Voucher on Wix?
You have to purchase a yearly or multi-yearly plan as a first-time customer to get a domain voucher on Wix. Thus, you will not qualify for this offer if you are on the monthly plan. At the same time, you will not get the voucher if you are an old user renewing your plan. You must use the domain voucher within two months of receiving it, or it will expire.
Do Free Wix Websites Expire?
The Wix free websites do not expire. You can use them forever as long as your account is active. While this is enticing, such sites are not suitable for professional use. Therefore, you should consider purchasing a premium package for a free custom domain name to look more professional and access many Wix features.
How Much is a Domain Name on Wix After the Free Year?
The price generally depends on the domain extension and the subscription period. A .com domain name costs around $17/year for a one-year subscription, while the 2-year and 3-year subscriptions cost around $16 and $15 yearly, respectively. On the other hand, a .net domain name costs around $15, $14, and $13 per year for the one-year, two-year, and three-year subscription periods, respectively.