Building a website these days is not like what it used to be. Back in the day, to create a website, you need some kind of technical skills especially the knowledge of programming languages like HTML, JS, and CSS. However, nowadays, there are several ways to make a website without writing a single line of code.
Yes! The point is that a beginner can now set up a standard and professional working website without having the knowledge of any programming language or all the nitty-gritty.
Even though creating a website is now simplified and possible without writing codes, the process of actually setting up one can still be overwhelming. To answer all your burning questions regarding how to create a website, we have compiled this guide to help anyone regardless of their experience with the process. This guide will explain everything that happens before anyone can build a new website in 2025.
1. Choose a Domain Name
Before anyone can boast of creating a new website in 2025, they must have a domain name. A domain name, in general terms, is the physical address of any website on the internet. A domain name in the hosting or technical world usually represents a particular IP address that is linked to the server hosting the files of a website.
In reality, browsers can only recognize the IP addresses of websites. However since IP addresses are random numbers that are not easy to remember, domain names are used to replace them. So when we type a domain name in a browser, it finds the IP address(es) linked to it and leads us to that website. This is possible through the Domain Name System (DNS).

A domain name is one of the most important parts of a website, the brand, and the business itself. Thus, it is imperative to take the process of choosing the domain name for a website seriously. Here are some tips on choosing a domain;
- Think of Your Brand: Using your brand name as your domain name is a great way to ensure that people can easily find it. It also ensures that your domain name is unique, provided that your brand name is. Lastly, choose a domain name that correctly depicts what your business is about without over-optimizing it. If you are in the business of “fries” and your brand name is “Yummy”, choosing yummybuns.com over yummyfries.com is not a wise decision.
- Choose the Right Extension: Extensions are very important because they give a clue of what your website is actually about. If your website is about education (for a school), it won’t make sense to choose a domain extension like .ai, .com, .io, etc., over .edu. Nonetheless, unless your domain name needs a particular extension such as education/school websites, AI sites, etc., choosing the .com domain extension is advisable. This is because visitors are more likely to type .com after your brand name than any other extension while trying to find your website.
- Make it Memorable: Do not choose a domain name that is hard for visitors to remember. A memorable domain name will be at the tip of the tongues of visitors and they can easily recommend it to others or type it in browsers to visit your site themselves.
- Must be Short: Long domain names are not user-friendly and can confuse visitors. Always aim for a domain name that is about 6 to 14 characters long for easy remembrance.
- Must Not be Confusing: Do not include numbers and special characters in your domain name. It can be confusing to recommend such domain names to users and even frequent visitors may forget the special characters or numbers sometimes. The same applies to domain names with repetitions of certain letters. e.g. “crocsshakes.com”.
- Check for Trademark Infringement: After deciding on your brand or domain name, always ensure that the name has not been trademarked. This will help to prevent legal issues later in the future that can bring your business down. There are many registries you can use to check depending on your location (although we recommend checking every trademark database possible). See where to check in the United States: https://www.uspto.gov/trademarks/search
Once you have decided on the domain name you want, the next step is to find the right registrar that provides your preferred extension. Aside from the availability of the extensions, you should also consider certain freebies like domain privacy protection. From our experience, the best domain name registrars to use for great services are Hostinger, SiteGround, InMotion Hosting, etc. These registrars provide a lot of extensions with reliable availability. Hostinger, for instance, is the most affordable and still provides free domain privacy protection.
Learn more on how to get or register a domain name.
2. Choose a Hosting Provider or Website Builder
Once you have a domain name, the next step when creating a website is to choose how you want it. Generally, the way you build a website will depend on the type of business you want to run on it. Aside from that, your web design skills, available resources, budget, features needed, etc., also determine what platform you would use to set up the site.
In this sense, there are two broad ways to build a website and they are;
- Via a Website Builder
- Via a Hosting Service + CMS/Scripts
Building a website using a builder is one of the simplest ways to go about the process. Website creators, generally were designed to help beginners and individuals with no coding or design knowledge to create a site for their business easily. These creators work on a What You See Is What You Get (WYSIWYG) model, meaning that you are able to build your pages visually. Thus, as long as you have a vision of what you want your web pages to look like, you will be able to create something close to it easily.
These builders are more of an all-in-one solution for a site most of the time. This is because the features you need to create any type of website are always available built-in without the need to add any third-party app or software. So if you want to build a blog, an online store, a standard website, etc., these creators are ready out-of-the-box.
The only disadvantage, however, is that these builders use closed-source software. This prevents you from being able to create a custom site with full control. You will have to make do with the features of the creator and of course, other software it supports.
On the other hand, choosing a hosting provider means you want to have more control over your website. A hosting provider simply provides the server and environment you need to install site creation software or Content Management System (CMS). When you have a hosting account (with an active plan), there is liberty to choose any software, depending on your needs to make your website.
Some of the popular software you can use are WordPress, Drupal, PrestaShop, etc. The choice of software can be tricky since a lot of them are specialized with their strengths and weaknesses. For multipurpose use, we recommend WordPress. If you want to sell online only, the recommendations in order of preference are WordPress, PrestaShop, Magento, and Drupal. For blogging purposes, WordPress, Drupal, and Joomla are great choices in that order.
Because you will have more control over your website with a hosting provider, you will need to handle some technical aspects on your own. If you don’t have the expertise to handle them, you may need to hire someone who does. Otherwise, you have to choose a hosting provider like Hostinger or SiteGround with outstanding technical support. These providers will handle the nitty-gritty of your site for you at no extra cost.
Comparing both options, we recommend going for a website builder if you need an affordable way to make a site. This is because while subscribing to a builder’s plan gives you access to all its features, you need to make additional purchases when using a CMS. In a nutshell, most CMS platforms don’t have a lot of built-in features, and hosting providers only sell server resources. On the plus side for CMS platforms, you can customize your website better.
Now, let us see some of the website creators and hosting providers to trust in 2025.
Choosing a Website Builder
As we have hinted, choosing a creator depends heavily on the kind of website you want to build. Below are the top builders we have tested and trust to make the site creation/management process straightforward for you.
Wix
Wix is our favorite builder when it comes to making a website for any purpose without breaking a sweat. The creator is a drag-and-drop tool that allows users to move sections and elements anywhere they want on the web pages. Aside from that, Wix lets you create a website quickly using either its Artificial Design Intelligence (ADI) or designed-ready templates. You can then use its straightforward drag-and-drop editor to edit pages to suit your preference.
Wix, as hinted earlier is great for any type of website. It has the best blogging tools we have seen among site creators with several free eCommerce features that many software charge heavily for. Other features like marketing, SEO, content creation, etc, are also available at Wix. Thus, it is a perfect tool regardless of your goal.
Hostinger Website Builder
The next tool in our recommendation list is the Hostinger Website Builder. This tool was designed for beginners looking forward to making a simple website without issues. The Hostinger Website Builder provides a drag-and-drop editor that allows you to arrange your web pages however you see fit.
Nevertheless, it ensures that the arrangement of the pages is optimized. In addition to that, the builder has over 100 templates that you can easily install on your site to kickstart your designs. If you are not interested in the premade templates, you can ask the Hostinger AI to build an editable personalized site for you.
The Hostinger Builder is quite affordable in a way that you can create up to 100 websites with a single subscription plan. Besides, all of its features are present on that plan including freebies like email hosting and a free domain name. We recommend the Hostinger Builder if you want to create a simple blog, standard site, or online store, very fast.
Squarespace
The last builder we recommend when you want to make your site in 2025 is Squarespace. Squarespace provides a lot of features, making it a great option for building different sites for several purposes. With its features, you can create a blog, a portfolio site, a standard website, a static page, etc. The main types of websites, we however recommend to be built with Squarespace are online stores and a freelancer’s site for project management and invoicing.
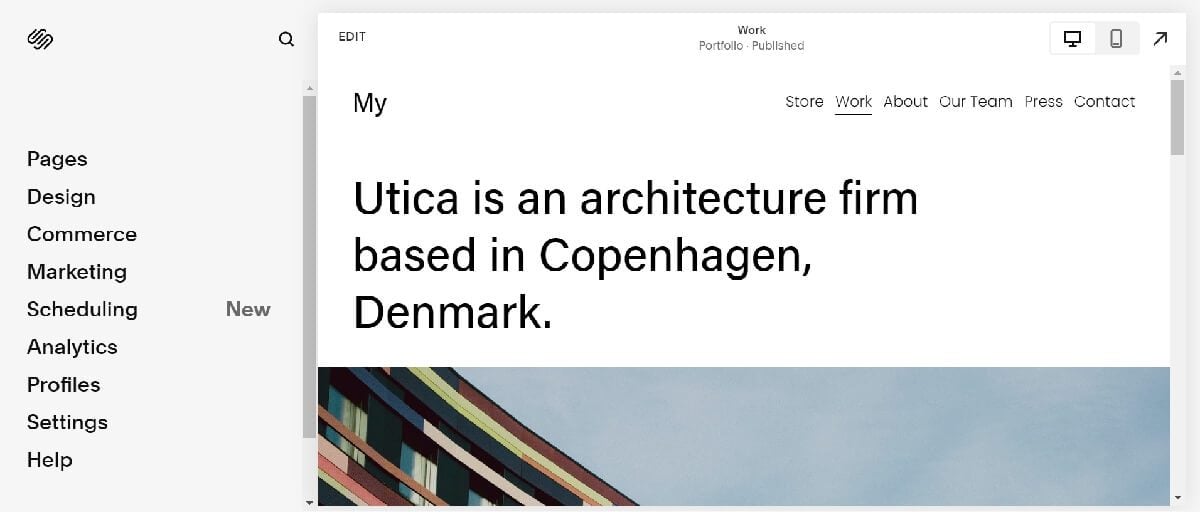
Squarespace also supports the creation of a website using a visual creator. Aside from that, it has several templates you can import to start your website design with. Thus, you will be able to cook up a site quite easily with it.
3. Choose a Plan
When building a website, the nature of your business greatly determines the type of plan you are going to choose. Evidently, different websites have distinct needs and therefore require the right plans. Picking an unsuitable plan for a website often leads to a waste of resources when too much or a decrease in potential, if not enough. Now, this is a bit different whether you choose a website builder or a hosting provider.
Choosing a Builder Plan
Website builders usually provide different plans with distinct features tailored for several categories of users or businesses. The specific features of these plans usually determine the kind of business one can operate and how much expansion is allowed. Now, let us look at the plans these builders have to offer.
Wix Plans
Wix provides a variety of plans that suit the needs and budgets of different users. Although the plans are a bit costly, they are still budget-friendly and provide great value for money compared with many competitors. Wix provides a Free plan which is available to all users for an unlimited time.
This plan gives you access to a lot of Wix features and you can build an unlimited number of sites for free. The main issue, nevertheless, is that you cannot use a custom domain name for your website. You won’t be able to accept payments either. So, this plan is primarily only for testing the features of the builder or hosting static pages.
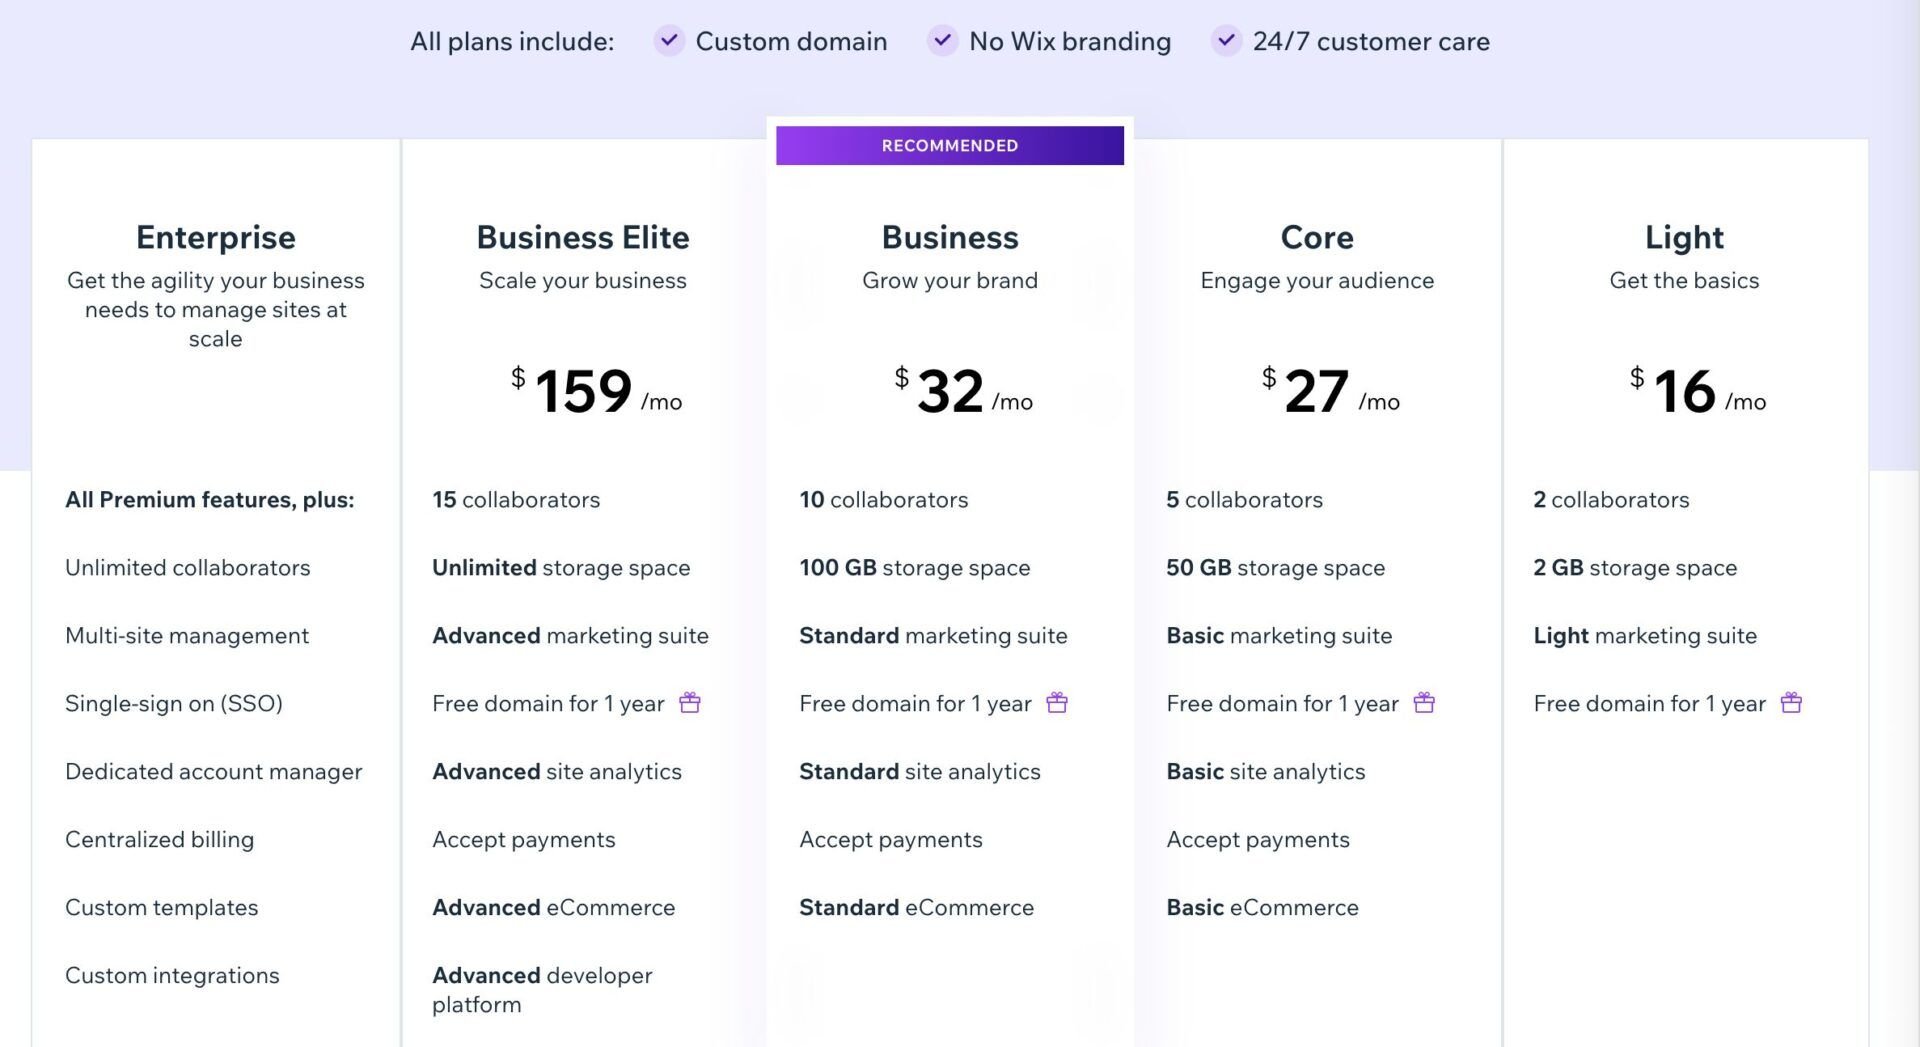
For serious business, Wix has pre-configured plans which are;
- Light: costs around $16 per month. This plan is great for bloggers and individuals looking to build static sites with minimal marketing features and no option to receive payments.
- Core: costs around $27 monthly. The plan is great for better marketing-oriented sites with the ability to receive payments. So, we recommend it for small online stores.
- Business: costs around $32 per month. This is for bigger online stores that need more eCommerce features due to expansion. It provides better marketing features as well.
- Business Elite: costs around $159 monthly. It is the best recommendation for a well-established eCommerce website that needs the best features and almost all limits increased.
Hostinger Website Builder
The Hostinger Website Builder is by far the most affordable builder as we have mentioned earlier. This is because this builder has only one plan that allows you to access all of its features with no extra or hidden charges. Aside from these features, it has freebies like AI tools, free email hosting, a free domain name for the first year, etc. On top of that, you will be able to host up to 100 websites on a single plan.
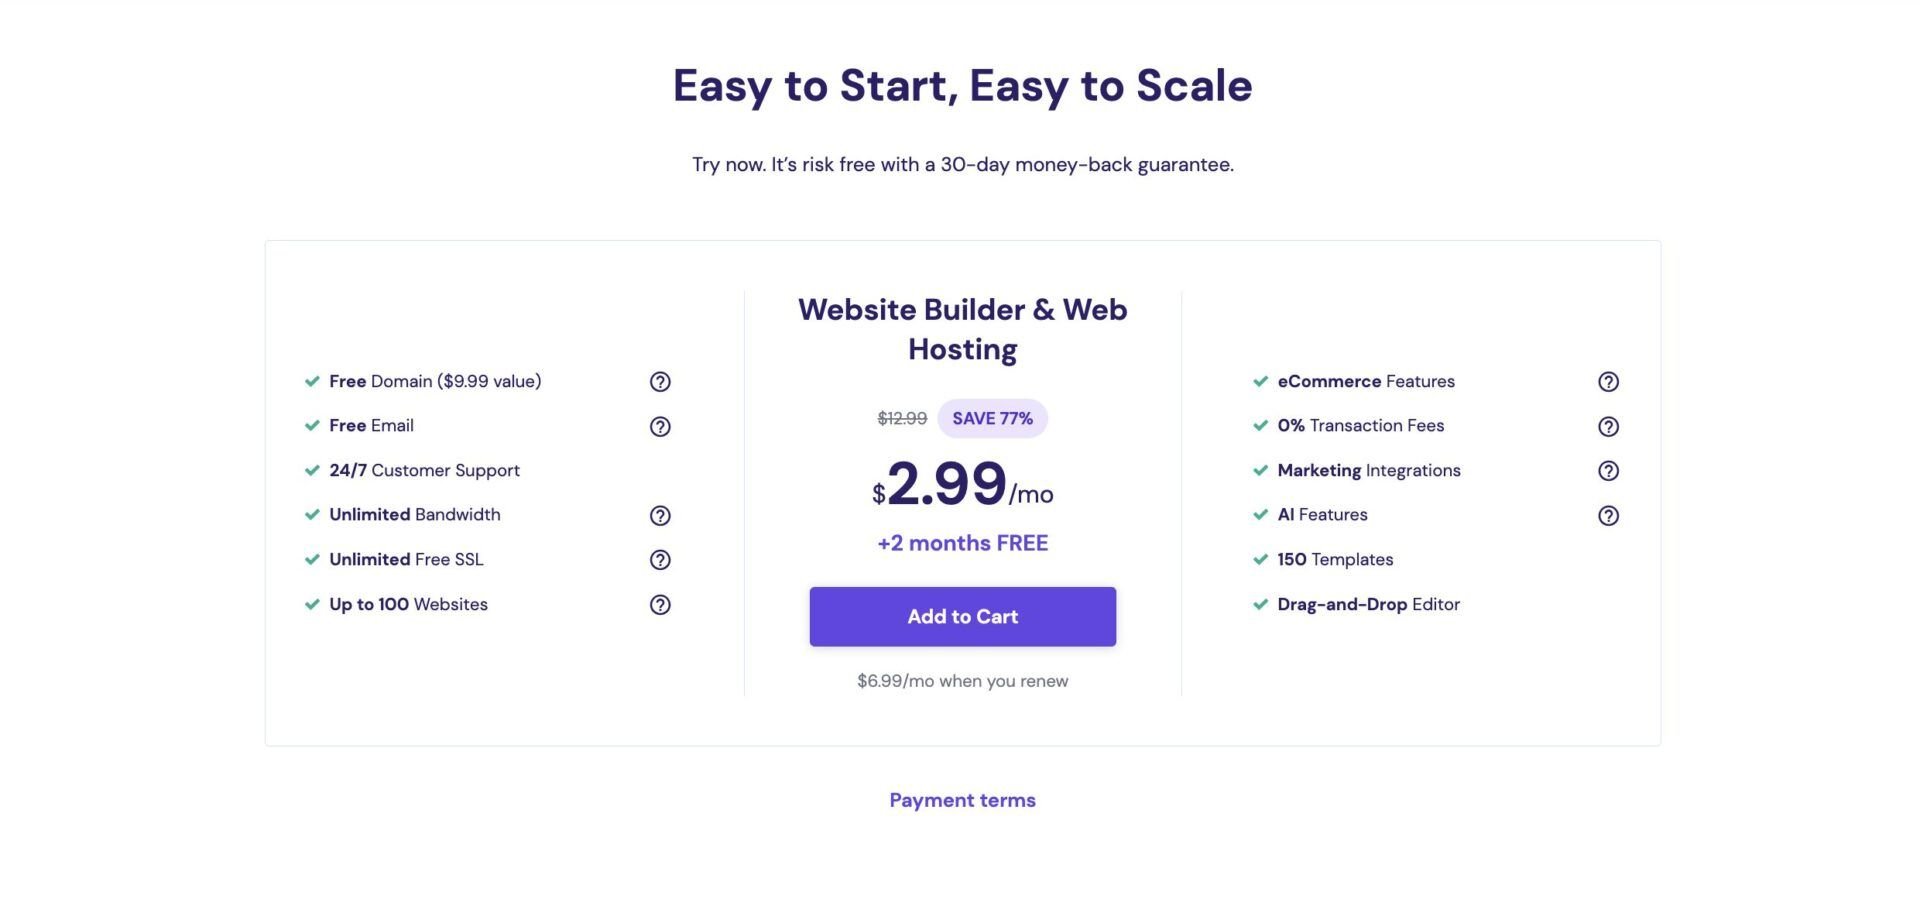
Unbelievably, this all-powerful Hostinger Builder plan costs only $3 per month. So, if you want to build your site with the creator that provides the best value for money, the Hostinger Builder is it.
Squarespace
Like Wix, Squarespace provides different tiers of plans in order to cater to the needs of distinct site owners looking to create one. The creator has four plans in total with each having a set of features that make it different from the rest. While Squarespace plans are a bit cheaper than Wix’s, we can say that the features of the latter are far superior. Hence, its value for money is still below that of Wix and the Hostinger Builder. Nevertheless, it provides better value for money than its competitors.
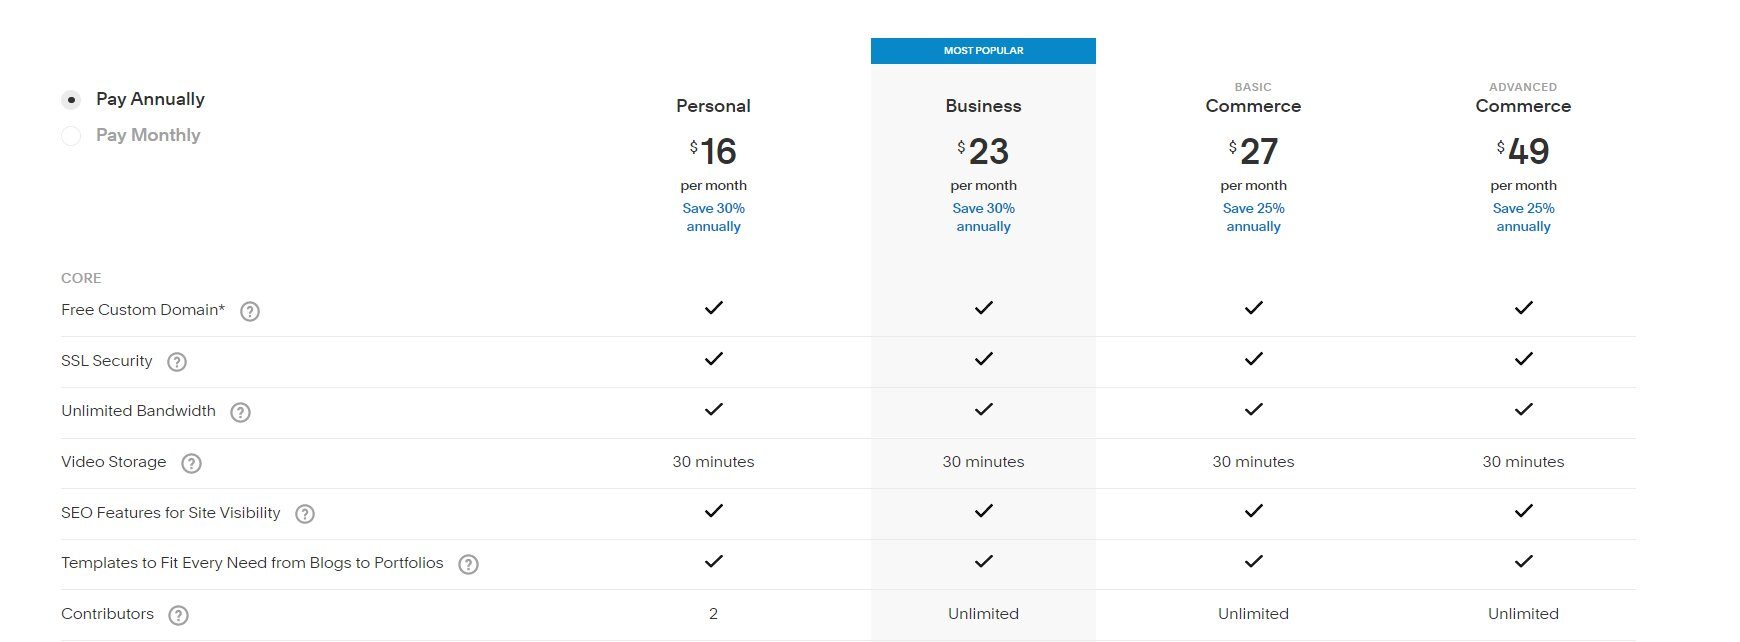
Here are the Squarespace plans with their pricing and what they are best for;
- Personal: costs around $16 per month. The plan as the name reads is best for personal or static sites. Bloggers will find its features quite useful as well.
- Business: costs about $23 monthly. It is a great plan for building a site that accepts payments for sales of goods and services. It also provides access to some marketing tools.
- Basic Commerce: costs around $27 per month. This plan works best for more established online stores that require features like POS, abandoned cart recovery, more marketing tools, and social sales channels.
- Advanced Commerce: costs about $49 monthly. If you have an online store that needs features like membership subscriptions, shipping, and Commerce APIs.
Note: The subscriptions are billed yearly. Thus, you will have to pay for a year upfront. Otherwise, your monthly payment for the Personal plan increases to $23, and that of the Advanced Commerce plan to $65.
Choosing a Hosting Plan
The pricing of the plans of hosting providers does not necessarily include the features you need to build or set up your website. Rather, what determines their pricing is the configuration of the plans. This configuration includes the server features or resources and other necessary factors like security, management tools, performance techs, etc.
Generally, the type of website you want to build and all the resources you need will determine which plan will work best for you. As always, it is not advisable to choose a plan that lacks the necessary server features that can power the site you want to make. Similarly, paying for a server that is too powerful for your website is overkill and a waste of resources.
Note: Expenses do not usually end at getting a hosting plan here. You may still need to purchase several software to add the features you want to the site you are creating. These expenses can increase also if you have to outsource the creation, setting up, and maintenance of your site to experts.
So, let us see the popular plans of some of our favorite hosting providers to see the suitable ones for each type of website and budget range.
Hostinger
Hostinger, from our experience, happens to be the most affordable hosting provider to consider when building a site in 2025. Aside from being extremely affordable, this host provides more value for money than most hosts in the industry. Hostinger provides different hosting plans and types to users, depending on the kind of project they have.
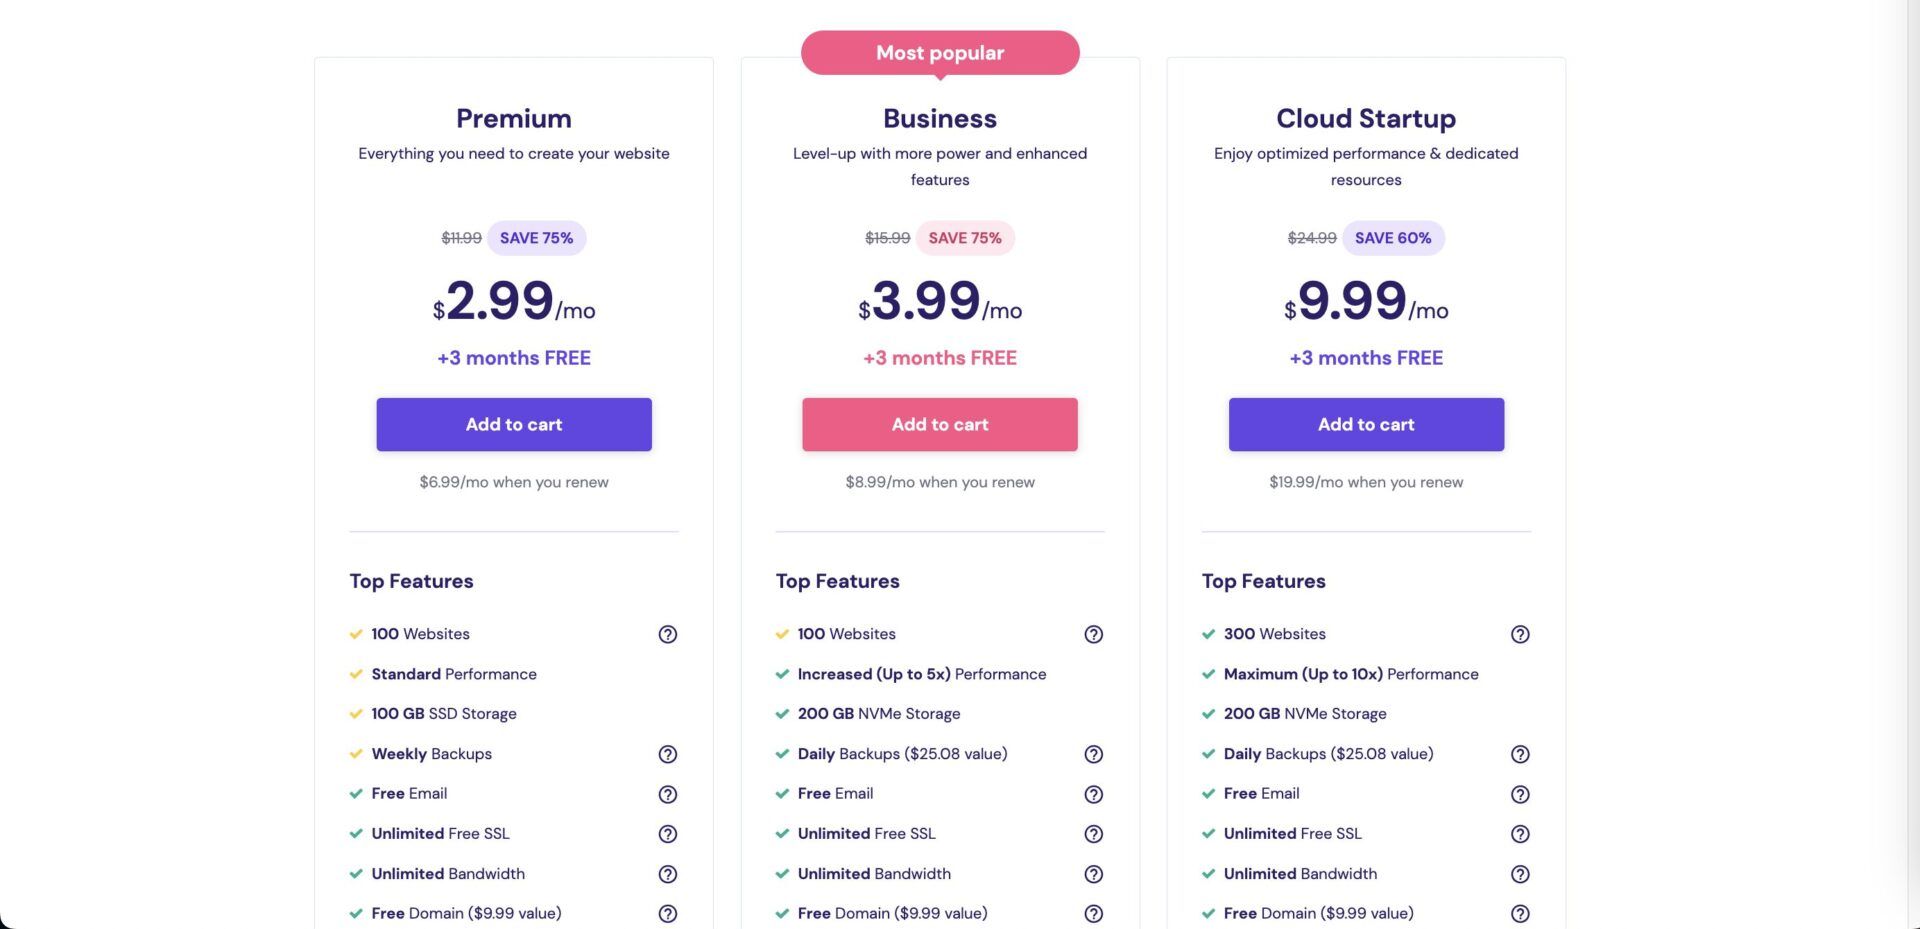
Here are the hosting types offered by the host with the pricing range and what we recommend them for;
- Web Hosting: costs between $3 and $9 per month. The hosting type and plans are suitable for static websites and small blogs with medium traffic on a budget.
- Cloud Hosting: costs around around $9 and $30 per month. These plans are great for hosting eCommerce sites with more generous budgets on cloud servers and isolated resources. The servers can handle more traffic confidently.
- VPS Hosting: costs around $6 and $18 per month. While these plans are suitable for any type of site. They are best used when you want total control over your server resources and usage. Technical know-how will be very helpful if you decide to use this hosting type.
SiteGround
SiteGround is also an affordable hosting provider. However, the pricing is still above the average by a wide margin when compared with other hosts. Yet, when we consider the features included in the plans of the provider, the pricing can be justified to some point. SiteGround is generally for hosting powerful WordPress websites and those using other CMS platforms. So, its servers are for resource-demanding projects out of the box.
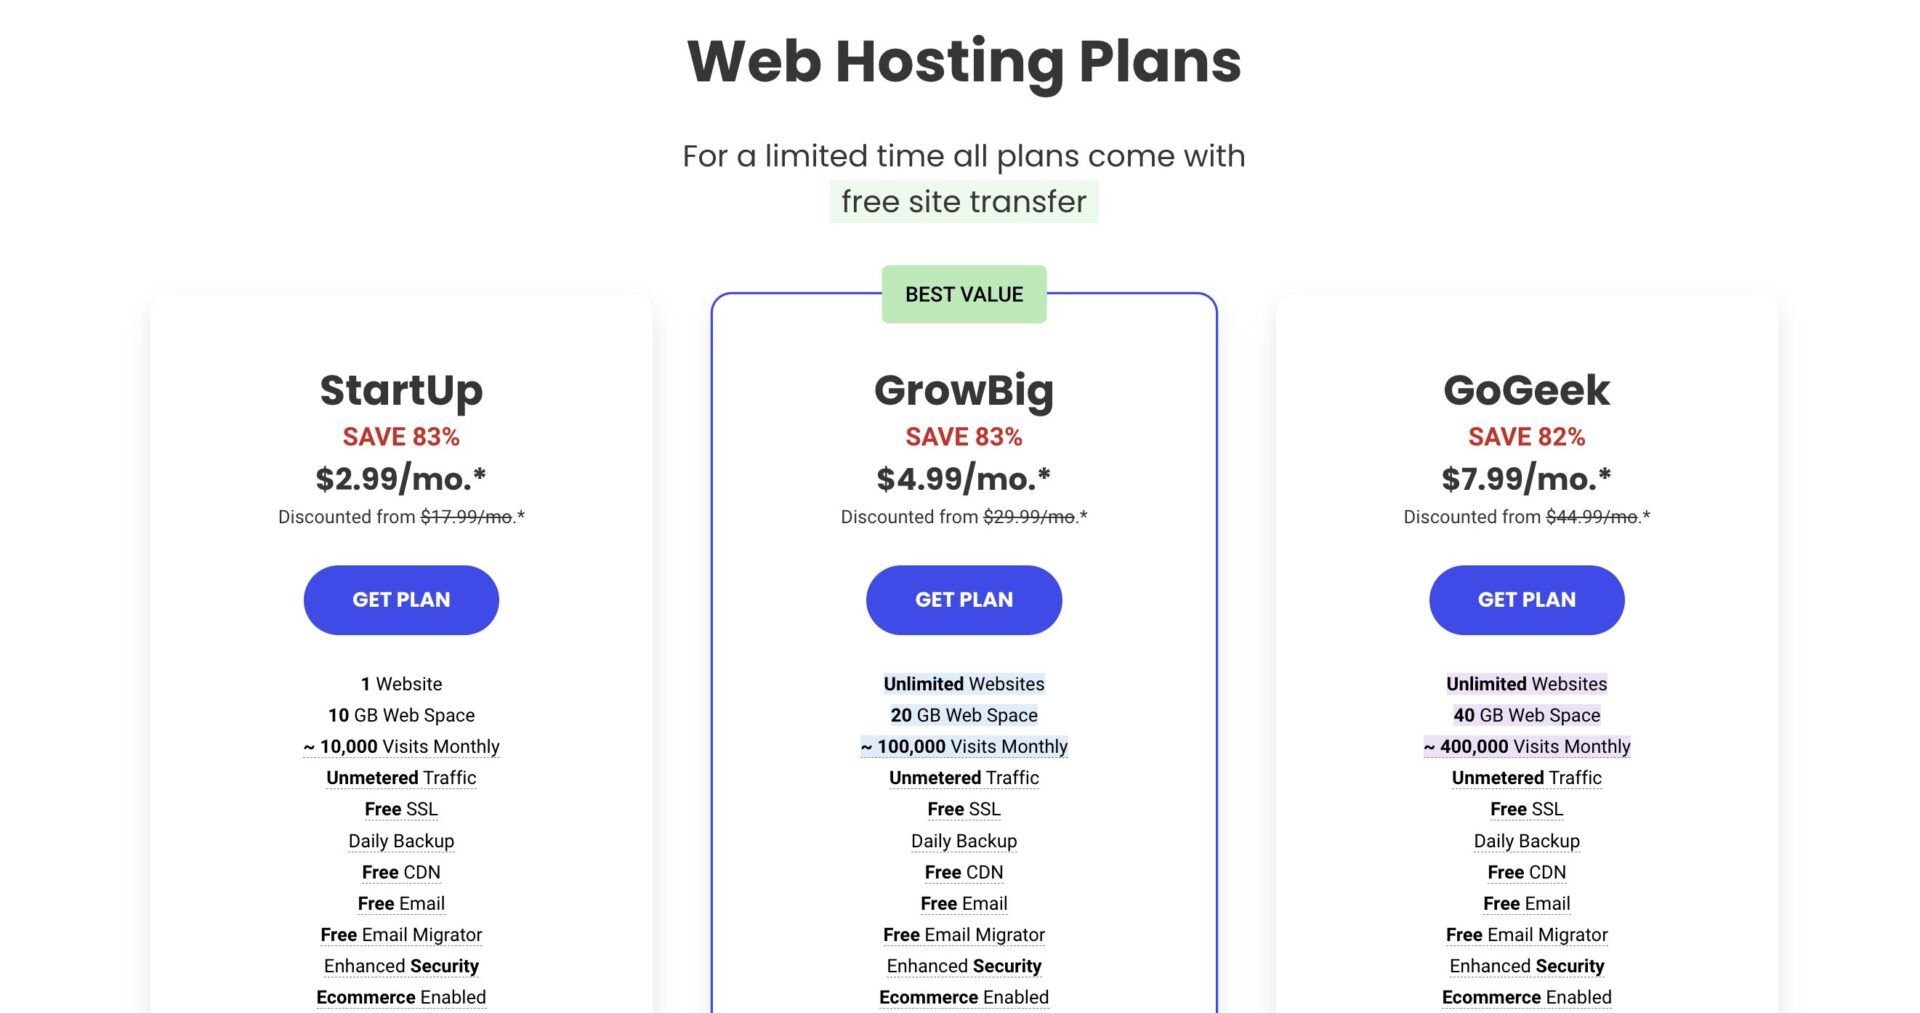
Here are the hosting types available at SiteGround;
- Web Hosting: costs around $3 to $8 per month for initial subscriptions and $18 to $45 monthly for renewals. You can use these plans to power personal blogs, online stores, and company websites. The right one, will, however, depend on the features or amount of resources you need.
- Cloud Hosting: costs $100 and above per month, depending on your configuration and specific needs. These plans are for powering very resource-demanding projects where you want liberty to allocate resources to each site.
InMotion Hosting Plans
InMotion is another affordable provider, especially for cheap WordPress hosting services in 2025. The host provides several hosting types even for specific CMS platforms based on the resources each of them needs. So, most of the time, the right plan or hosting type depends on the kind of site you want to make and the CMS platform you prefer to use.
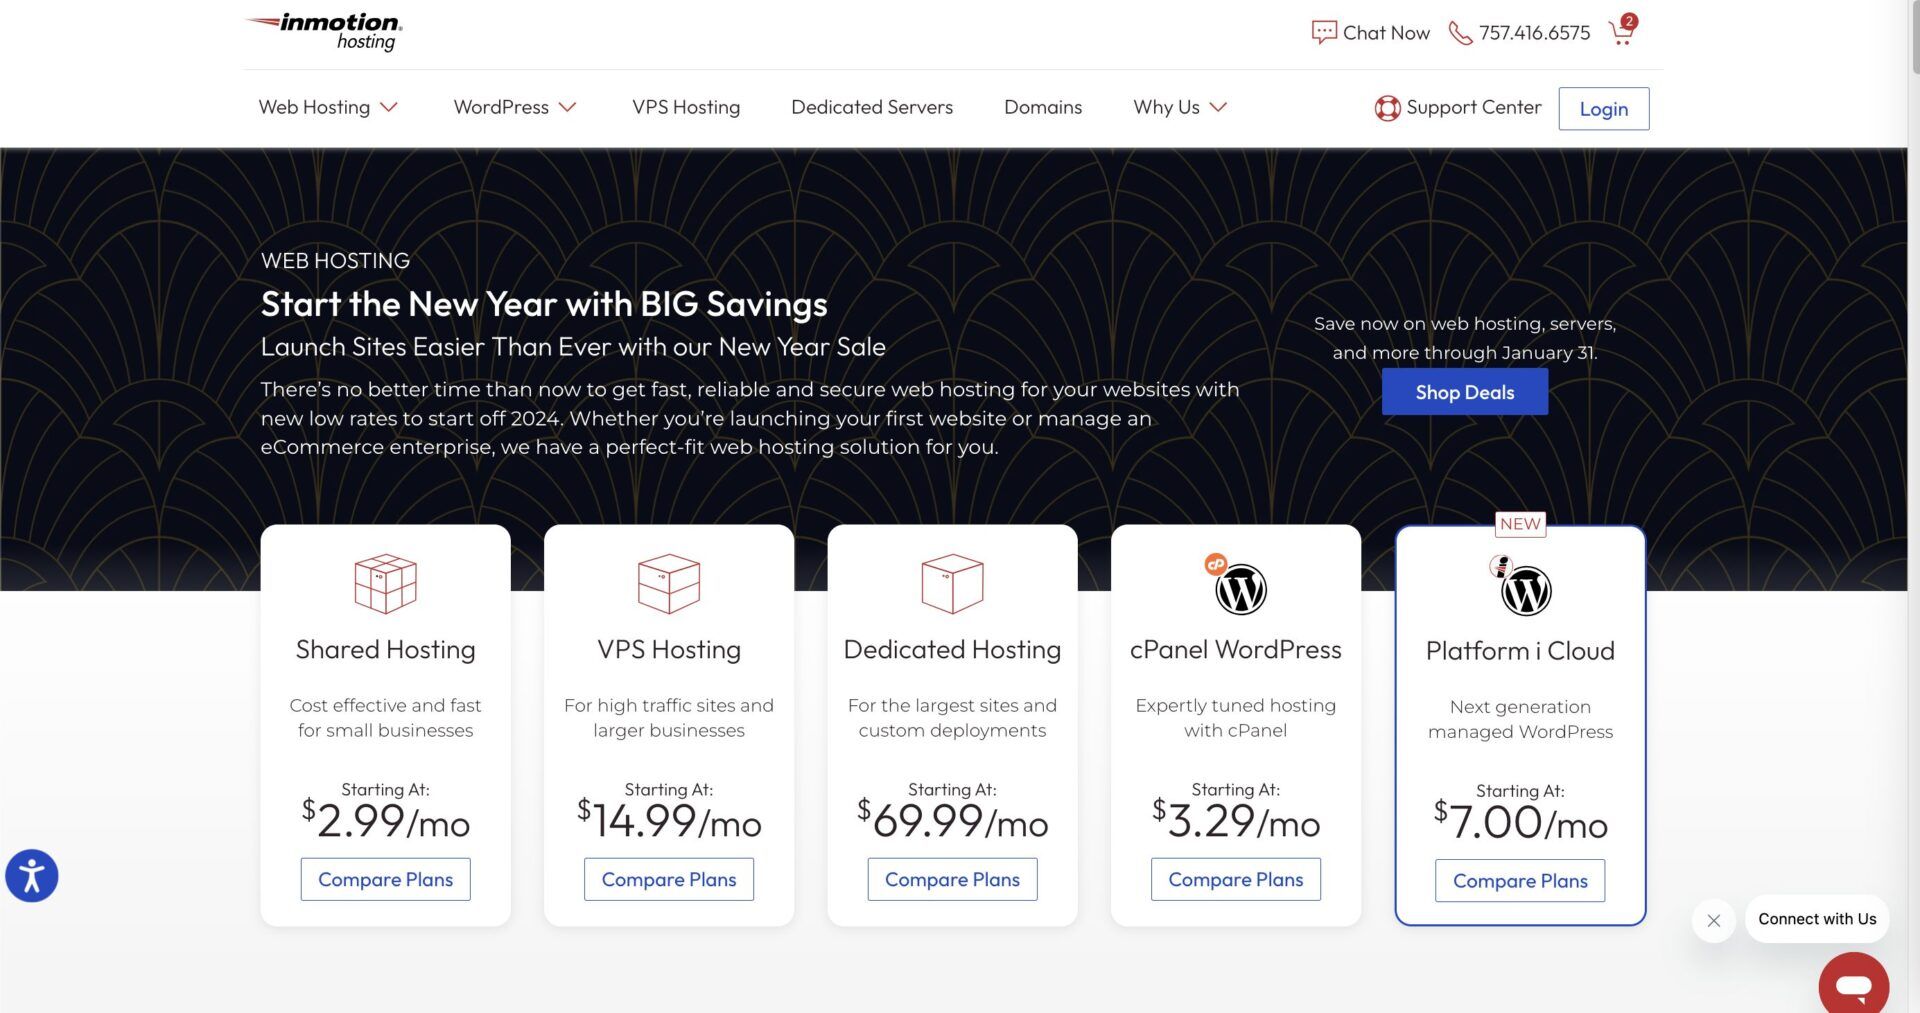
Here are some of the hosting types available with the pricing range;
- Shared/WP Hosting: costs about $3 to $12 per month. These plans are for sites that require very little resources since they are shared servers. So, personal blogs, portfolio sites, static pages, etc., will perform well on them.
- VPS Hosting: costs about $15 to $75 monthly. The servers are designed for powering websites that need a lot of resources to function well. So, you can scale through the plans to choose the server with the exact configuration you need.
- Dedicated Server Hosting: costs around $70 to $750 per month. These servers are for powering company projects or sites. Here, you can rent a physical server and have all the resources to yourself to build any site you want.
See how our in-depth review of InMotion Hosting services in 2025.
4. Set Up Your Website
Once you have chosen whether to use a hosting provider with WordPress or a builder, the next step is to actually create your website. Of course, you must have created an account and purchased the appropriate plans before embarking on this step. On this page, we will be looking at how to create a website with Wix and WordPress via Hostinger.
Designing Your Website
When setting up your website, one of the first things that comes to mind is how you want it to look. This is where your vision of the ideal website comes in. So, let us see how to go about this depending on these platforms.
Using Wix
When creating a website with Wix, you have two options. You can either create your website using an existing template or use the Artificial Design Intelligence (ADI). When you use the ADI, Wix will ask you a bunch of questions regarding what you want to do with your site and create a personalized one for you. If the designs generated are not up to your taste, you can regenerate them. Alternatively, you can use the Wix Editor to customize the pages to your taste.
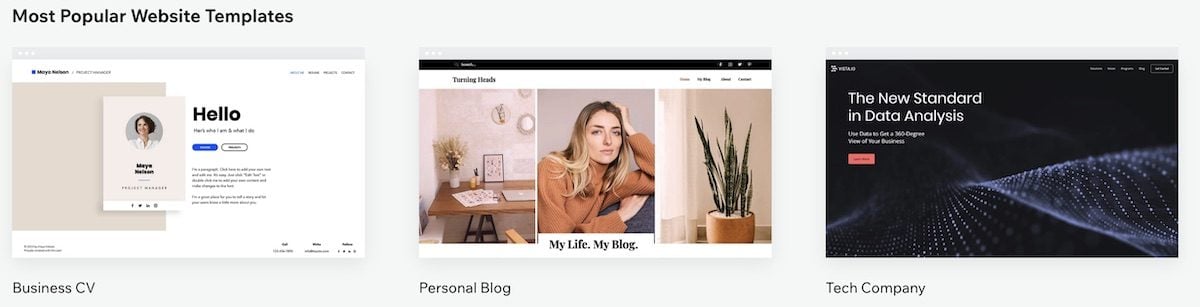
On the other hand, you can choose from the over 800 Wix templates for the new website you want to make. These templates span across several categories, making them relevant for almost anything you want to build in terms of content and structure. On the template gallery page, you can filter the templates to see the ones that are designed for your site’s purpose. Then, you can customize the one you choose to personalize it.
While many users fail to make some structure changes on their website after choosing a template they love, we are against this. This is because there is a high possibility that many users are using the exact template you chose without making many changes. This takes away the uniqueness of your website. Also, ensure that you change the copies and wordings that come with the templates to yours.
Some of the changes you need to make to ensure that website design is unique and personalized are;
- The site’s title and slogan
- The logo
- The pictures on the pages
- The copies/texts
- The content of the pre-generated pages
- The structure or layout of the pages
- The styles of the pages or the entire site
- The links on the pages
Once you are able to make the pages and content yours, you are set to go to the next step.
Using WordPress
Unlike Wix, there are more ways to create a WordPress website. These ways include using a theme, coding the site from scratch, using a page builder, and hiring a web developer. For the purpose of this page, we will be looking at the use of a WordPress theme only.
When creating a WP website using a theme, the first step starts right from your hosting account. First, you need to install WordPress on your server and link it to your domain name. Afterward, you will have to choose which theme and plugins to pre-install. The combination depends on the hosting provider you use and it is possible to find the option to pick your preferred theme or plugin there.
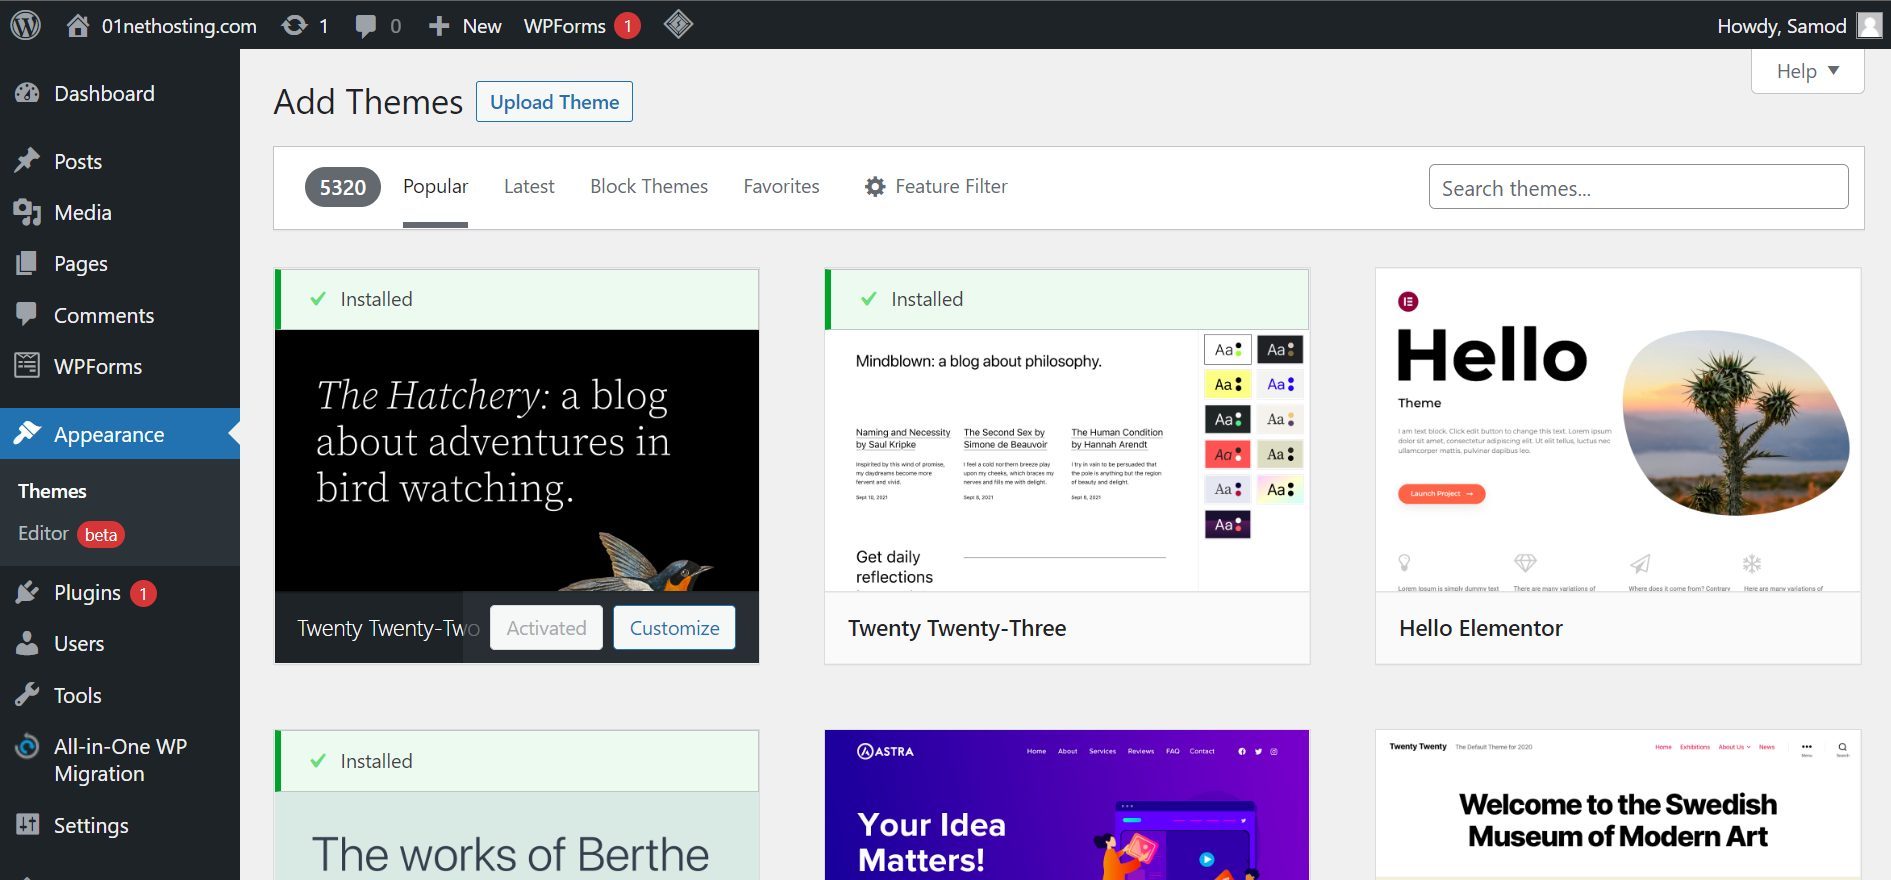
In that case, you will need to log in to your site’s WordPress admin in order to install a theme from the repository or upload a custom one that you bought or built. Once you upload this theme and activate it, it will automatically become the skin of your website. WordPress has thousands of free themes that you can easily install on your website. So, you can try as many themes as possible until you find the one that fits your taste. In order to customize your theme, you may need to read the documentation provided by the developer. You can either customize it using the WP Customizer, the Full Site Editor (FSE), a built-in builder, or a third-party website creator.
The same changes we made in the case of Wix for personalizing the templates are applicable here as well.
Adding Features
Now that you have designed the website, it is time to add the features you need for it to function well. Most of the time, some of the features you need for your website will come with the theme in the case of WordPress. Similarly, for website builders, there are so many features built-in that are just waiting for you to add them to your pages and finish some setups. However, at other times in the case of WordPress and website builders, you need to use third-party apps.
Some of the features you may want to add to your website depending on your purpose are;
- Blog Section: If your site is primarily a static page or a standard website, you may want to create a blog section for it for frequently updated content. This feature usually comes built-in on website builders and CMS platforms. So, you only need to enable them and choose where they appear. You can, however, enhance the features using certain plugins.
- eCommerce Functionalities: If you plan to sell on your website, then making sure you have certain features like a shopping cart and payment gateways is necessary. While these features are built-in on most builders, you need to use several third-party plugins in the case of CMS platforms like WordPress.
- Contact Forms: Having a contact form on your website helps to create a mailing list. You can either send promotional offers to the people on this list or send them newsletters, depending on its purpose. Having a mailing list has been linked to the success of many email campaigns in the industry. Since this allows you to have a list of clients who are already interested in your services, your campaigns are less likely to be seen as spam.
- User Experience Features: Certain features like dark mode, sticky header menu, back to top button, etc., can help to improve user experience.
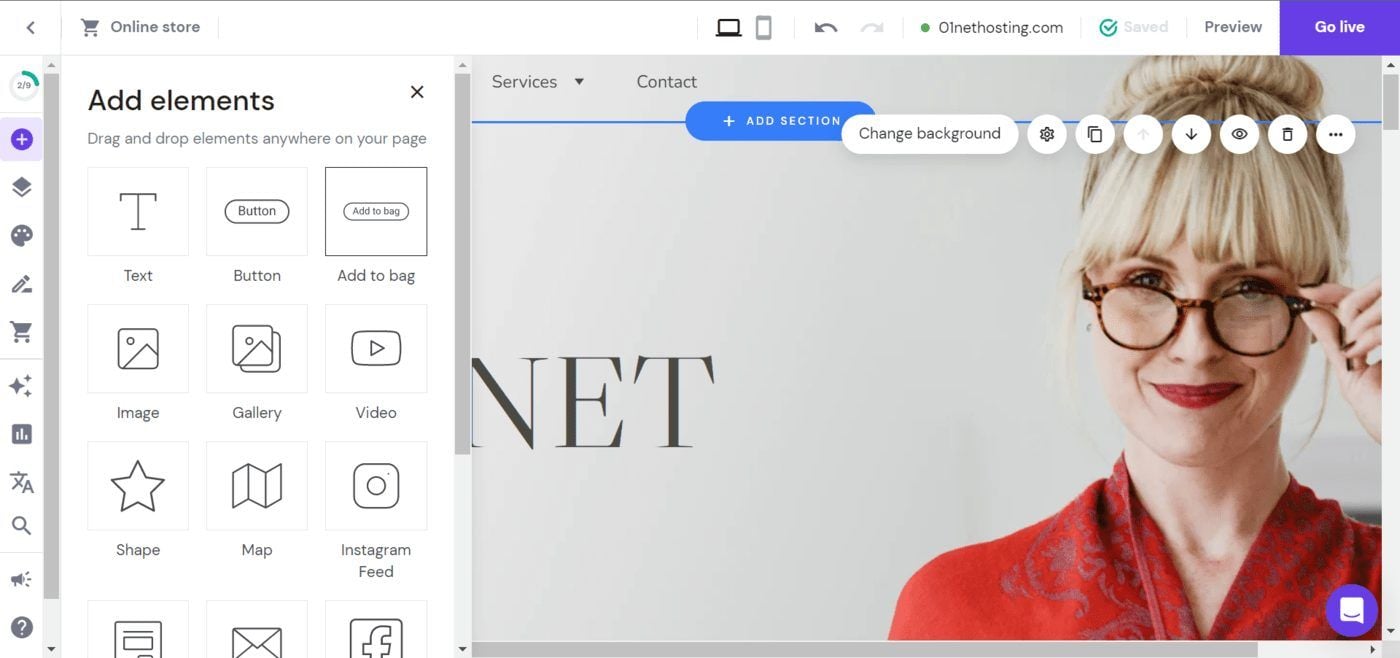
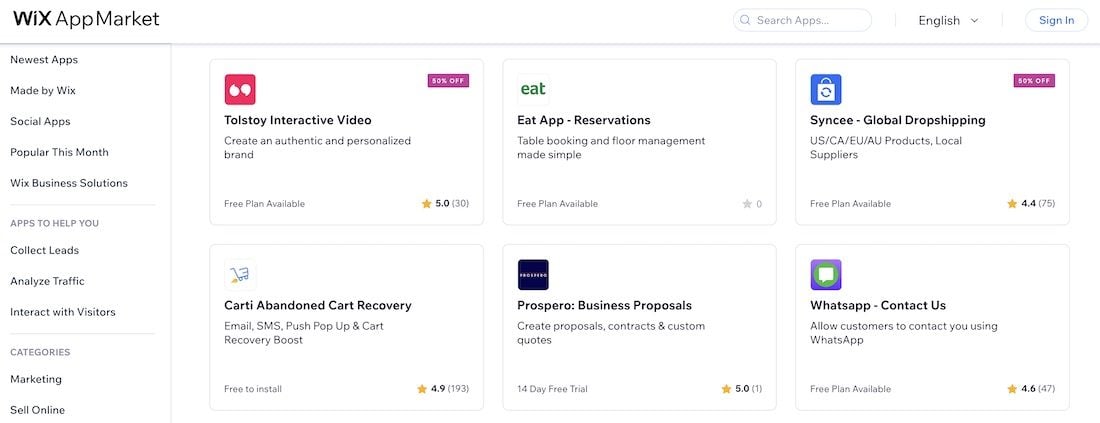
For Wix, you can find all the features the website builder has to offer out of the box right in your dashboard immediately after you log in. Once you have access to this page, you can enable all the features you need for the site you are creating and complete the required setups. In the case where the features you need are not available out of the box, you can search for software that can do the tasks in the Wix App Market. Some of these apps are free of charge and you may need to pay recurring subscriptions to use them.
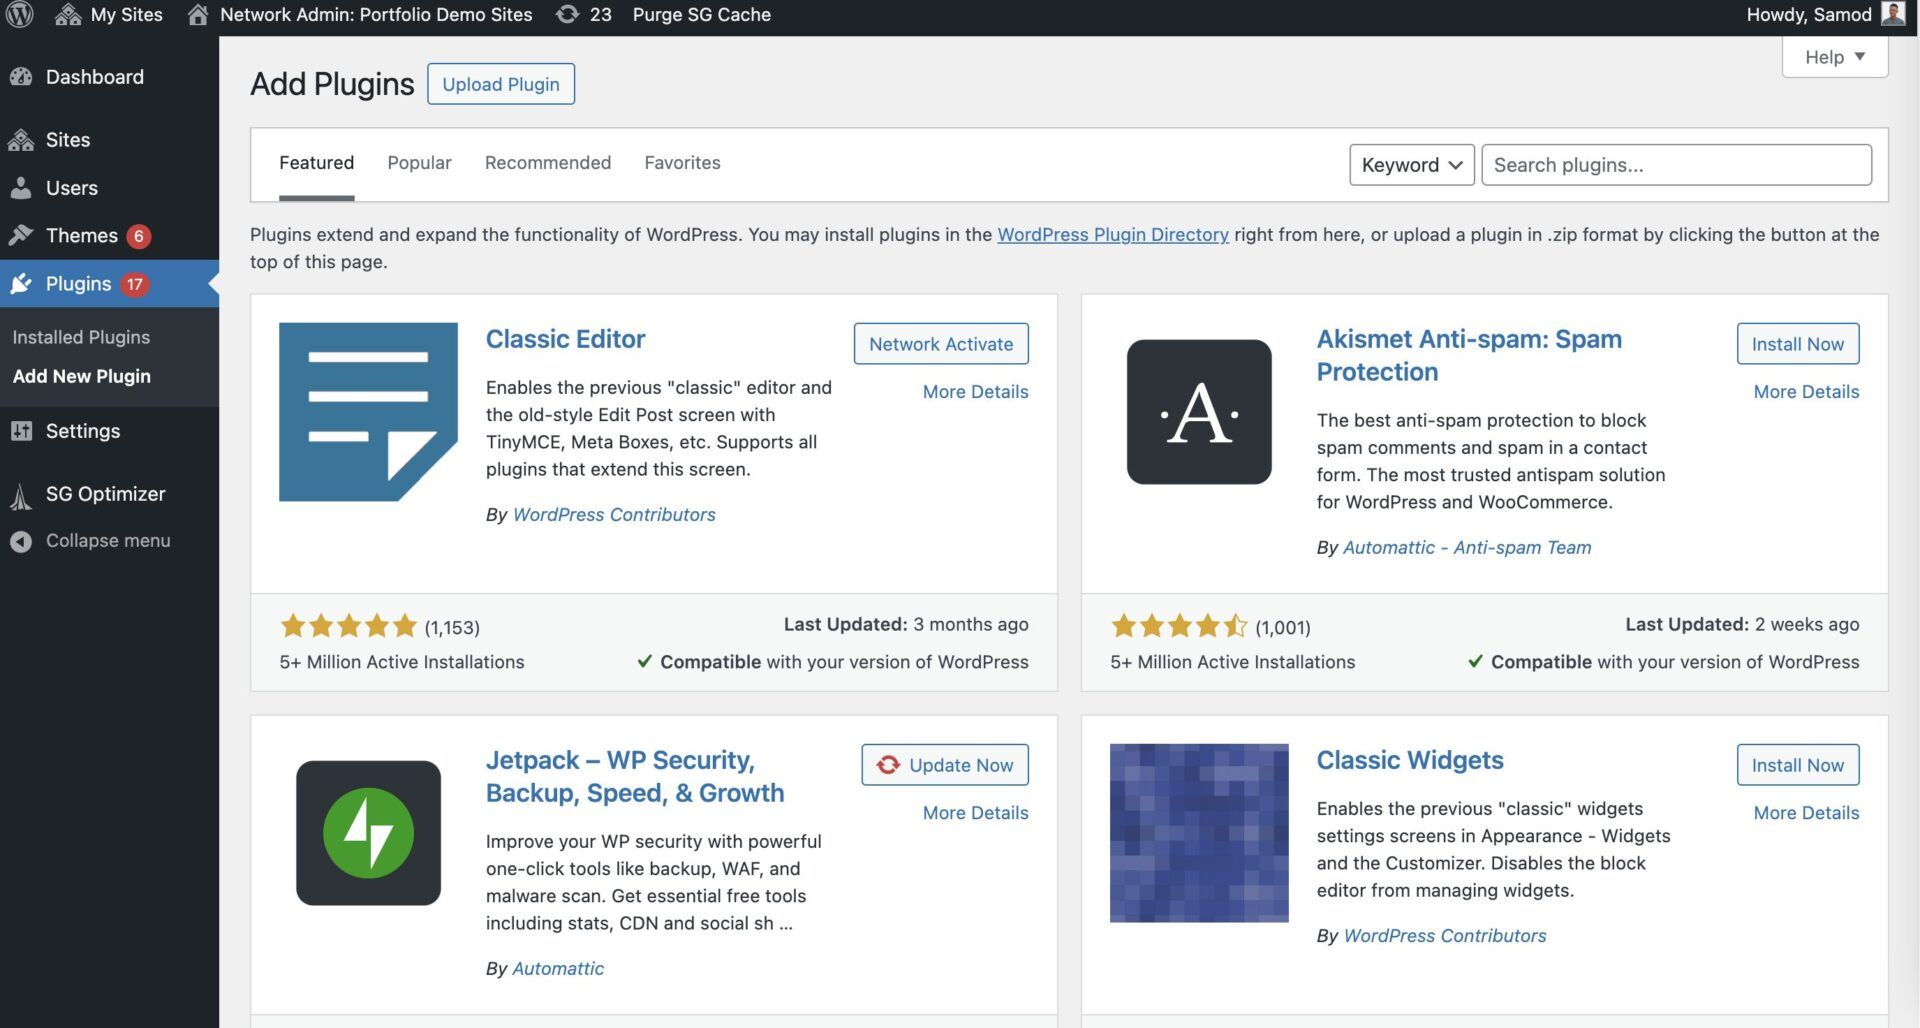
On the other hand, WordPress has very little built-in features. Thus, you will have to rely on your theme and plugins to give the functionalities you need for your site. So, if you need a particular feature, you can search for the keyword or just filter the results on the Plugins page. When you do this, you will get recommendations for plugins with that feature. Since you don’t know which plugin to use, you can apply filters to get the ones with the most positive reviews and active installations. This usually indicates that it is great at what it does. You should, however, still read the negative reviews in order to know what issues to expect.
Running an elaborate website on WordPress can be costly because you need a lot of plugins for the features you want. Our advice, nonetheless, is that you should always go for the free and effective plugins instead of paid ones. Also, ensure that you use fewer plugins in order to prevent performance drops and conflicts.
5. Add Your Content and Improve Navigation
Most of the time when creating a new website, we often fill our pages with dummy content until everything is ready and we are ready to use our copy. While some of the site’s content might have been changed when designing the pages, this is the right time to ensure they are correctly set. Here, we can focus more on ensuring that the copy we have on each page reflects its purpose.
At the same time, we need to change our media (text and videos). Now, when choosing the media, ensure they are of great quality and can be accessed by every visitor. Low-quality or irrelevant media will affect the performance of a page, leading to bad or unintended results.
In the case of sourcing the content, you may need to employ the services of copywriters and designers. If you are low on budget, you can try using chatGPT, other AI tools, and several free stock photo libraries to generate unique content.
Once you have added your content, you may want to improve the navigation of your website by linking the pages together internally. Aside from that, you need to link these pages from the menus of your site too. That is; the header and footer menus.
6. Optimize Your Website for SEO
Once you have your website and its content ready, you need to optimize it for SEO out of the box. Optimizing your website for SEO ensures that it stands the chance of ranking for top searches on Search Engine Results Pages (SERPs). This means you will be able to get more traffic for your website and generate more revenue. Now, the process of optimizing your website for SEO starts when you begin your designs and it is continuous.

That said, here are some of the ways to ensure that your website can rank well on the SERPs;
- Create Quality Pages and Optimize them with Keywords: Google and other search engines prefer quality content over those created mainly to trick algorithms into ranking them high. So, ensure that your content goes far and beyond in doing justice to the topic it is about. This will make visitors get glued to your content and help your search ranking. Do not forget to naturally insert the keywords you want to rank for as well so as to reach the right audience. Also, organize your content correctly with the right heading tags for easy organization and readability.
- Use high-quality Images: Not everyone is okay with reading a bunch of texts. In fact, some people understand better with infographics. So, when you create your content, ensure that, when possible, you include many images in your copy for the readers.
- Organize Your Site: Websites that are well-organized rank better on SERPs because they are easy to navigate. This leads to great user experience which is a factor Google cares greatly about when sending searchers to a site. Use menus, internal links, breadcrumbs, etc., to better explain the structure of your website.
- Google Search Console and Analytics: Ensure that you have a GSC account and submit your sitemap file. This will allow Google to quickly crawl your pages and can potentially speed up indexing. Connecting a Google Analytics account also lets you track so much information regarding how your content is performing and the demographics of your audience. You can use the information to improve the optimization of your website.
- SEO Tools: Manually optimizing your pages can be arduous. Luckily, there are several tools you can use to check the optimization of your content and see where to improve. At the same time, ensure to use tools like Keyword Planner, SEMRUSH, etc., to know the right content to create and the keywords to use.
- Optimize Your Content Consistently: After the initial SEO setup, ensure that you optimize every new page or content you add to your site too. At the same time, continue to optimize the existing content based on the insights from Analytics or GSC.
7. Test Your Website and Publish It
Now that you have completed the process of setting up your website, the next step is to test if it works the way it should before making it available to the public. For this, check every part of your site to ensure that all the links are working the way they should. Open every page to see if the images display correctly and whether the content is correctly formatted across several devices. If there is an issue with any part, ensure that it is fixed permanently and you run the test again.
In order to ensure that the test is as real as possible, you can give a few of your colleagues or friends access to the site to see how it behaves and work on their feedback.
Once everything is okay (no issues with the setup), you can now hit the Publish or Launch button to make your website available to everyone.
FAQs: How to Build a Website
Can You Create a Website for Free?
Of course, it is possible to create a website without spending a dime. To do this, you have to use one of the best free website builders in 2025. Note that creating a free site means you won’t have access to certain features. The most popular feature these free site creators restrict is the ability to use your own domain name.
How Long Will It Take to Build a Website?
The amount of time it takes to build a site depends on factors like the processes involved and the features you want to include. For creating a simple website using an AI builder, it takes only a few seconds or minutes to have a working product. Whereas, hiring a professional developer for a custom site may take weeks or even months to complete.
What Does Creating a Website Cost?
There is no specific cost of building a website in 2025. What determines the cost of a website are the included features, the tools used, whether it was done by oneself or a paid professional, its size, and maintenance. So, while many sites may cost a few hundred or even thousands of dollars, others are totally free or less than $100.